COURSES & TRAINING: LOGIN

Dave Morrow Photography

MASTER LANDSCAPE PHOTOGRAPHY & HIKING | EXPERT INSTRUCTION

  • PHOTOS
  • PHOTO GUIDES & VIDEOS
  • HIKING GEAR & SKILLS
  • WORKSHOPS

Best Camera & Best Lens for Night Photography [2026]

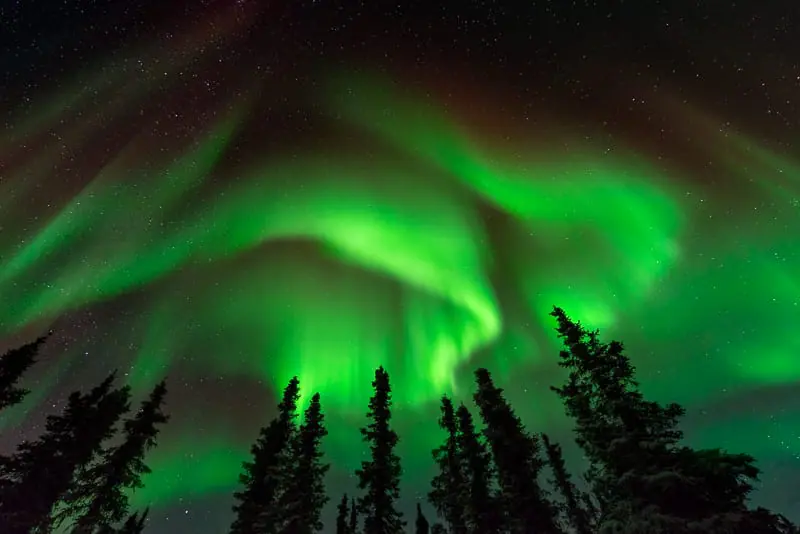
The following page provides personally tested and approved cameras and lenses for Milky Way, star, northern lights & night sky photography.

There are many options for the best camera & best lens for night photography.

It all depends on your own shooting style & price range preference.

Below, I’ve listed my favorites to get you started, along with in-depth photography guides that teach you the camera technique & settings for night photography.

Table of Contents


  • Overview – Best Camera & Best Lens for Night Photography
  • Nikon Full Frame Cameras for Night Photography
  • Nikon Crop Sensor Cameras for Night Photography
  • Nikon Lenses for Night Photography
  • Sony Full Frame Cameras for Night Photography
  • Sony Lenses for Night Photography
  • Canon Full Frame Cameras for Night Photography
  • How to 10X Your Learning Speed

Overview – Best Camera & Best Lens for Night Photography

Full frame cameras and wide angle lenses offer the best quality for night photography.

Crop sensor cameras lack the dynamic range and low light image quality of full frame cameras.

I highly recommend the full frame options, but have provided some crop sensor options as well.

The linked guides teach the underlying technology & science of how camera sensors & ISO settings correlate to image quality and dynamic range.

You can also read my the following guides & learn how to take night sky shots of your own:

  • Milky Way & Star Photography Guide
  • Star Trails Photography Guide
  • Northern Lights Photography Guide

Nikon Full Frame Cameras for Night Photography

Nikon D810 (My Main Camera) – One fo the best night sky & landscape photography camera bodies made. A Tough metal body makes it perfect for mountaineering and backpacking.

I highly recommend this camera to all landscape photographers who expect their gear to perform at the top level and take a beating at the same time.

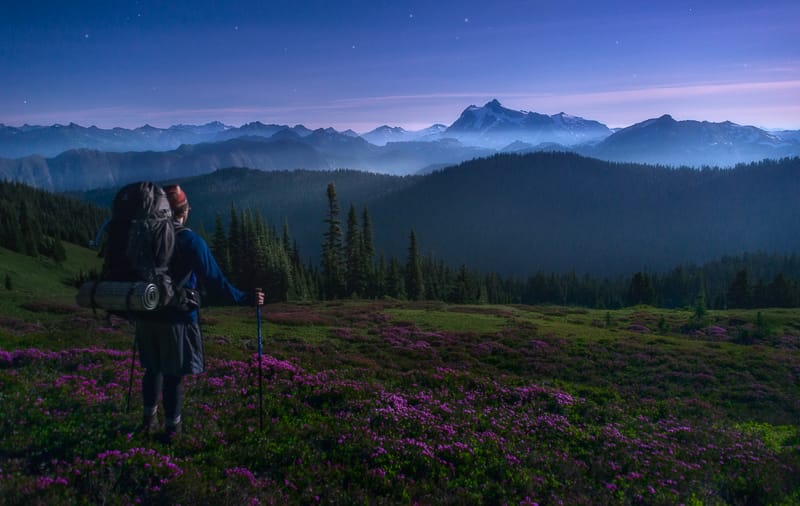
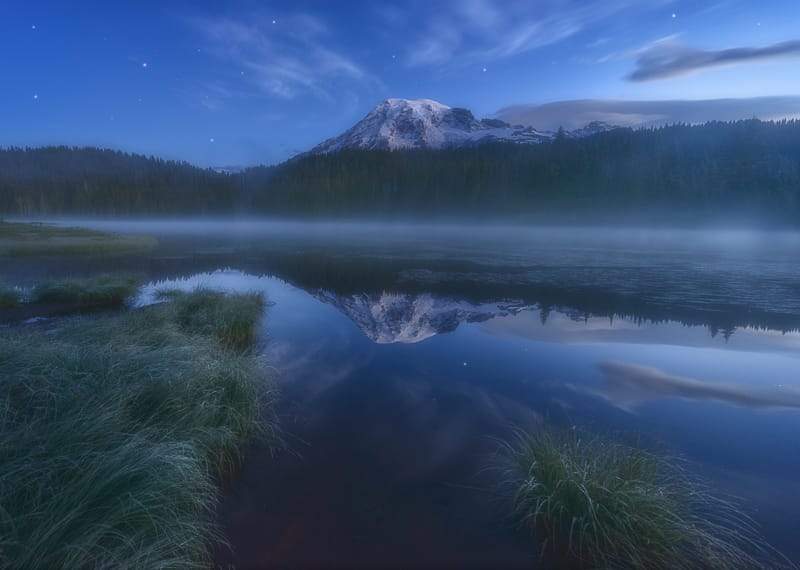
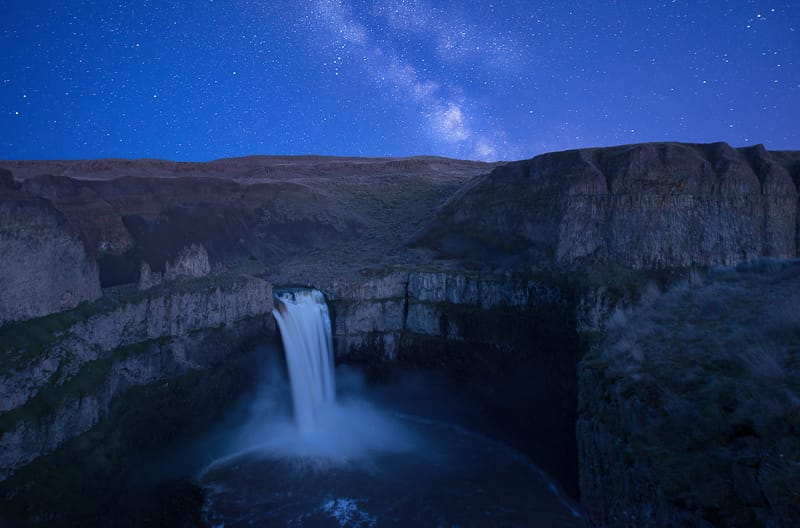
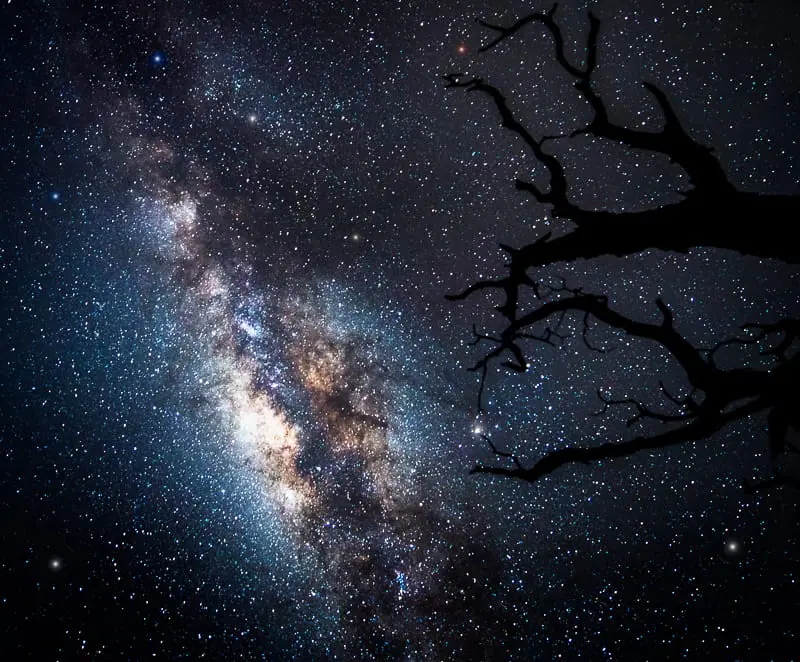
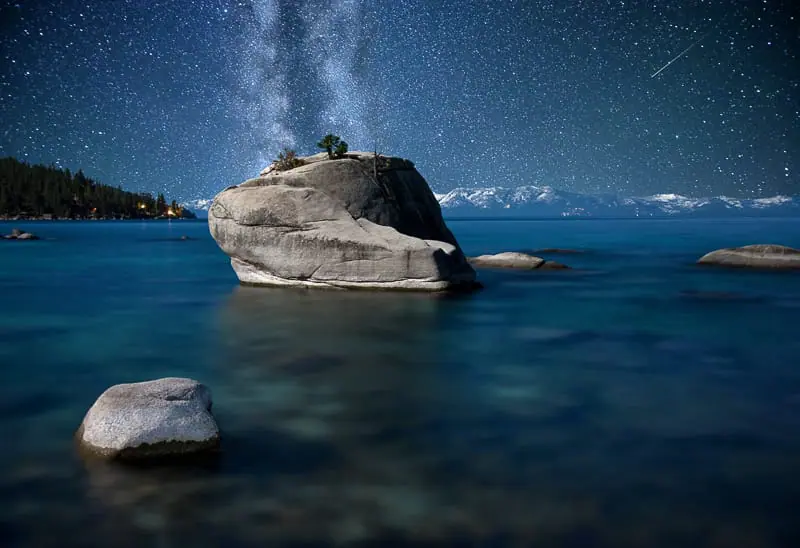
You can reference my Latest Night Sky Photos to see some of the images created with this camera.

Nikon D800 (My Backup Camera) – I feel the same about this camera as the D810. The dynamic range isn’t quite as good, but still all around a great camera.

I don’t carry this backup for backpacking / traveling. This is a backup camera for long distance photo trips. This used to be my main camera and has worked perfectly for the past 5 years.

Nikon D850 – After my D810 wears out, this is the next camera I will get. This is Nikon’s update to the D810.

I have shot with the following cameras. They work well.

That being said, if you can afford it, go with the D810 or the D850.

Nikon D750 – The next best option after the D850 and the D10 is the D750.

Nikon D610 – Another great option.

Nikon Crop Sensor Cameras for Night Photography

I would highly recommend investing in a full frame camera for night sky photography as well as landscape photography.

The difference in image quality, and reduced noise is well worth it.

It’s hard to recommend a crop sensor for night photography, but here is the best option.

Nikon D7100

Nikon Lenses for Night Photography

Nikkor 14-24mm f/2.8G – The best night sky & landscape photography lens currently made.

You can reference my Latest Night Sky Photos to see some of the images created with the Nikkor 14-24mm.

Nikkor 17-35mm f/2.8D ED-IF Autofocus Lens – Another great wide angle lens. If you have a choice, go with the 14-24, above.

Nikkor 16mm f/2.8 Fisheye – This is not a very versatile lens. It will work, but go with one one of the lenses above if you’re buying a new one.

Rokinon 14mm f/2.8 – Fantastic wide angle lens for the price. That being said, it does not even come close in comparison to the Nikkor lenses above.

Sony Full Frame Cameras for Night Photography

Sony and Nikon cameras have the best sensors for low light and night sky photography. They are also fantastic for landscape photography.

Nikon uses Sony sensors in the D810 and D800 mentioned above.

I don’t find Sony cameras to be as tough as Nikon Cameras, this is my main reason for not using them.

The second reason being that don’t want to use an adapter for the Nikkor 14-24mm required by Sony.

The technology and image quality is just as good on Sony Cameras.

Here are the two models I recommend for night sky photography.

Sony a7R III Mirrorless Camera

Sony A7R II Mirrorless Camera

Sony Lenses for Night Photography

I’d recommend using an adapter with the Nikkor 14-24mm lens, over any of the following choices.

That being said, if you don’t want to spend 2000$ on a lens plus an adapter, these options work well too!

Zeiss Batis 18mm f/2.8 – If I were only taking night sky photos this would be my lens of choice.

Sony 12-24mm f/4 G – If I were taking landscape & night sky photos, this would be my lens of choice.

Sony 16-35mm f/4 ZA OSS – This is also a really good lens.

Canon Full Frame Cameras for Night Photography

Even the best Canon Cameras do not perform very well in low light and have a reduced dynamic range compared to Nikon & Sony.

This has nothing to do with brands and everything to do with sensor science.

I do not recommend Canon Cameras for night photography.

That being said, if you already have a Canon, it doesn’t hurt to give it a try.

Here are the models that would work for night sky photography.

Canon 5D Mark III

Canon 6D

How to 10X Your Learning Speed

The fastest way to master landscape photography is by learning firsthand from someone who has spent over a decade optimizing these skills through trial and error.

Blogs and videos are great for theory, but they cannot replace real-time, field-based instruction.

I offer high-intensity workshops and tours designed for all skill and fitness levels.

In a single 3-day session, I can teach you my entire system—start to finish.

You will receive 1-on-1 feedback in the field that will improve your skills faster than years of self-teaching ever could.

My students often learn more in three days than they have in the previous 20 years on their own.

Stop guessing and start creating portfolio-grade images.

CLICK HERE & SEE MY UPCOMING WORKSHOPS

Planning for Star, Milky Way and Night Sky Photography

This step-by-step written guide and video tutorial walks you through the entire process of planning for Milky Way, star trails, and night sky photography. Guaranteed great photos!

Learn how to use the best websites, apps, and computer programs, essential to taking beautiful photos of the stars, milky way & night sky.

Table of Contents

  • Video I: Moon Phase, Dark Skies & Weather
  • Video II: Photographer’s Ephemeris & Google Earth
  • Video III: Locate the Milky Way – Stellarium
  • Additional Planning Apps

Video I: Moon Phase, Dark Skies & Weather

Step 1: Calculate the Moon Phase

Click Here for Star Date Moon Phase Calculator

Our Moon rotates around our Sun approximately once every 27.3 days. This means we will see approximately the same views of the Moon once each 27.3 days.

During the New Moon, when the sun lies directly between planet Earth and the sun, is the best time to photograph the Milky Way.  Due to the New Moon’s location between us and the Sun, there is no light cast on the side of the moon which we can see from Earth.  In turn the Earth will receive no Moon light on these nights for a short period of time.

That being said, the night of the New Moon will provide the longest and darkest hours to photograph the Milky Way. There are also 5-6 nights on either side of the night of the New Moon which will also work great for photographing the Milky Way.

During these nights there will be no Moon visible in the sky for a minimum of 1-2 hours a night and a maximum of approximately 10 hours a night. These 10-12 days fall directly before, directly after, and include the night of the New Moon.

Star trails and Northern Lights photography are much more forgiving. You can capture star trails or Northern Lights photos with, or without, the Moon visible in the sky. Both situations will yield different and unique results.

Step 2: Find Dark Skies

Blue Marble Light Pollution Map works very well for this. Black areas on the map are great for shooting the night sky, while white areas on the map are light polluted and should be avoided.

Step 3: Find Clear Skies – Predicting the Weather

Without clear skies it will be impossible to get a clean view of the Milky Way, stars, or Northern Lights. This doesn’t mean there can’t be a few clouds. Sometimes clouds here and there add to the “interestingness” of the photo, but complete cloud cover won’t allow you to see the night sky.

Outside the USA: I use and recommend MeteoStar Weather Website.

Inside the USA: I use and recommend NOAA ( National Oceanic & Atmospheric Administration ). It provides in depth weather forecasting data for all of the United States.

Here is a great way to go about finding cloud cover percentages using NOAA. I also show you how to do this in Video I – Moon Phase, Dark Skies and Weather, above.

  1. Visit http://www.noaa.gov/
  2. Type in a city and state near where you would like to shoot. It just has to be close. We can re-adjust in the next step!
  3. Once you search for your city and state, a new page will come up.
  4. Using the map on the new page, zoom out as required, then, click the exact location where you would like to see the weather forecast. Click Here to see where I’ve done this for Mount Rainier, Washington.
  5. Now, scroll down the same page until you see the Hourly Weather Graph on the right hand side. Click the Hourly Weather Graph graphic.
  6. Now you can decide the date, time, weather, and precipitation elements which you would like to view. Use the checkboxes to turn them on and off.
  7. Using the Sky Cover Percentage ( % ) you will be able to predict how many clouds will be present at any specific time! Ideally aim for 0-20% cloud cover. 21-60% is also acceptable. Shooting with 80-90% cloud cover is possible, but will not yield many great shots.

Video II: Photographer’s Ephemeris & Google Earth

Step 4: Learn to Use The Photographers Ephemeris ( TPE )

Get TPE For: Desktop | iPhone | Android

The Photographer’s Ephemeris is a map-centric sun and moon calculator: see how the light will fall on the land, day or night, for any location on earth. TPE also provides precise sunrise, sunset, and twilight times as well as moon rise and moonset times.

Referencing the Example 1: Screen Shot – The Photographer’s Ephemeris ( below ) I was able to find a suitable Milky Way photography night at Mount Rainier National Park for Wednesday, June 17th, 2015.

Using the Photographers Ephemeris to check Moon phase and ensure dark skies for Milky Way and night photography.
Example 1: Screen Shot – The Photographer’s Ephemeris

To ensure maximum length of darkness, I selected a night where the Moon set early in the night, preferably right before or right after sunset. In Example 1: Screen Shot – The Photographer’s Ephemeris ( above ),  moonset is at 21:47 and sunset is at 21:02.

It was also crucial to ensure that the moon did not rise too early in the morning. The moonrise on this particular morning ( now June 18th ) is 07:36 leaving plenty of time to shoot.

As noted before, to ensure darkest skies, it’s always best to shoot a minimum of 1-2 hours before the rise or after the set of a large celestial body ( Sun & Moon ). If the sun sets at 21:02, and the moon rises at 02:00 the next morning, this would not give much time to shoot in pure darkness.

With the current conditions as denoted on the Example 1: Screen Shot – The Photographer’s Ephemeris ( above ), the sky will be very dark by 23:58. This is known as the end of Astronomical Twilight. Astronomical Twilight is when the sun lies 12-18 degrees below the horizon and is the last time you can actually “see” any remains of sunlight in the sky.

You can still get some great shots during Civil & Nautical Twilight, but the skies won’t be as dark, this means you won’t see as many stars.

During Civil Twilight the sun lies 0 – 6 degrees below the horizon, and during Nautical Twilight the Sun lies 6-12 degrees below the horizon. The twilight conditions noted above happen twice each day; before sunrise and after sunset.

In far Northern and Southern latitudes ( above and below 60 degrees North and South respectively ), the sun doesn’t always set or rise during certain times of year. When traveling to these extreme latitudes it’s especially important to plan for your photography trips!

Step 5: Learn to Use Google Earth / Maps

Get Google Earth For: Desktop | iPhone | Android

Get Google Maps For: Desktop | iPhone | Android

Google Earth is my preferred way to plan for any photography trip or shoot. Using Google Earth, you can place yourself into any landscape on this planet and see what the topography looks like around you.

It’s also possible to turn on geotagged pictures which others have taken. These pictures will show up on the Google Earth overlay, allowing you to see what the surrounding landscapes look like. Out of all the tools on this page, Google Maps / Google Earth is where I spend the most time.

I don’t necessarily look at these pictures to see great landscape photos, but to get an idea of the geography of the location, and what possibilities exist off the beaten path. Are there trees, or great views, steep cliffs, or easily accessible vistas? Using these photos you can piece together some knowledge that you wouldn’t have had otherwise.

Prior to arriving at a new location, any extra information is better than nothing at all. Time after time, I’ve been able to find and research locations I didn’t know existed by spending a few hours exploring Google Earth.

Next, you can zoom in even further to get an idea of what it would look like if you were actually standing there with your camera in hand, ready to shoot. This close up view can be seen in Example 2: Screen Shot, Google Earth – Close Up View ( below ).

scouting and planning for a landscape photography shoot using this free google maps and google earth tutorial
Example 2: Screen Shot, Google Earth – Close Up View

One of the coolest features of Google Earth allows you to see the scene change over time, on any given date. You can see the sun set, the Moon rise & the Milky Way and stars move through the sky.

Although not perfect, the lighting situations seen in Example 3: Screen Shot, Google Earth – Dynamic View ( below ) can provide great information of what your location may actually look like during any time of day or night.

The views seen in Examples 1 – 3 come from Mount Rainier National Park in Washington State. In the next chapter, we will go into even more detail on how to plan for a shoot from another one of my favorite night sky locations in Washington State.

planning a star, milkyway and night sky photography shoot using google earth and google maps
Example 3: Screen Shot, Google Earth – Dynamic View

Video III: Locate the Milky Way – Stellarium

Step 6: Locate the Milky Way w/ Stellarium

Get Stellarium For: Desktop | iPhone | Android 

In short, Stellarium allows you to see exactly where the Milky Way will be in the sky and at what time. It is a free planetarium for your computer. It shows a realistic sky in 3D, just like what you see with the naked eye, binoculars or a telescope. This is perfect for visualizing and planning precise and effective night sky photo shoots.

Let’s return to the location from Example 1 above, at Mount Rainier National Park, and view it in Stellarium.

It’s nearing 03:00 in the morning on June 18th and the Milky Way is bright in the sky. Using Stellarium it’s possible to predict which direction it will show up in the night sky.

Using different fields of view gives me an idea of where the Milky Way will be when showing up at any given location. Referencing Example 4: Screen Shot, Stellarium – 90 Degree + Field of View ( below ) you can see a the Milky Way and foreground with a fairly wide field of view.

This field of view is great for seeing how the Milky Way will be seen during certain times throughout the night and how it will move across the sky over a given period of time. Reference the videos above for a more in depth look.

planning a milky way and night photography shoot using stellarium
Example 4: Screen Shot, Stellarium – 90 Degree + Field of View

The Example 5: Screen Shot, Stellarium – 360 Degree Field of View ( below ) allows us to see in all directions at the same time. This is great for planning panoramic photos of the Milky Way or seeing how the planet Earth moves as a whole; with respect to the Milky Way, sky, and stars.

Using stellarium to plan for a panoramic photograph of the milky way in this free milky way photography planning tutorial
Example 5: Screen Shot, Stellarium – 360 Degree Field of View

Additional Planning Apps

PhotoPills: If you want one amazing app that does it all for photography, THIS IS IT! Click on the link above for full functionality, there is a lot of it, packaged in a really nice & user friendly app. Get PhotoPills For: iPhone Only

Star Walk is another great and intuitive program that allows you to plan for your shoot. Using Star Walk on your tablet, or mobile device, it is easy to see what the night sky will look like at a given time and place. Get Star Walk For:  iPhone | Android 

Simple, Powerful Noise Reduction for Star, Milky Way & Night Sky Photography

Learn the best editing techniques and camera settings for noise reduction and night sky photography

This guide & video can be applied to:

  • Milky Way
  • Star Trails
  • Northern Lights
  • Moon Photography

Table of Contents


  • Video – Noise Reduction for Night Sky Photography
  • Step by Step Photo Editing Workflow
  • In Camera Noise Reduction Settings
  • Image Stacking for Noise Reduction
  • Why I Don’t Use Image Stacking

Video – Noise Reduction for Night Sky Photography

Step by Step Photo Editing Workflow

Watch the video first, then follow these steps for quick reference.

Software Referenced in Video

Star Photography Photoshop Actions & Video Tutorials: These are the actions I showed at the end of the video. There is another video included with the link above showing you exactly what they are all about. I created and use these to edit all my star photos, I think you’ll love them too!

Nik Software Suite ( Now Free ) – Click Download on top right of page. Nik Define comes as part of the software suite. That’s the program used for noise reduction in the video.

Imagenomic Noise Reduction – I consider this to have a slight edge on Nik, but not much. You can use my methods in the tutorial with either software.

Step by Step Workflow

Step 1: Always finish your photo editing process prior to using noise reduction software. Photoshop noise reduction, using either Nik Define or Imagenomic, should always be the last step.

Step 2: Use Shift+Alt+Command+E ( Mac ) or Shift+Alt+CTRL+E ( PC ) and merge all to new layer. This will give you a top layer that is identical to the combination of all underlying layers. Label this layer noise reduction.

Step 3: Open the Photoshop noise reduction program of your choice and run it on the new layer from step 2.

Step 4: Open the “Channels Module” in Photoshop and create new luminosity channels. You can also use my Star Photography Photoshop Actions for this step.

PRO TIP: When creating the darks channels it’s best practice to create the dark channel first, then create 4-5 additional channels, which subsequently select darker and darker regions of the photo / histogram. Technically, you could create infinite selections of darker and darker regions of the histogram, but this isn’t necessary.

In doing so you’ll be able to see which selection best fits your specific photo. Since each photo you edit will contain different levels of luminance, the same channel won’t be used to apply noise reduction each time. Having a visual representation of each channel is the only way to select the right channel for your specific image. This is why an automated workflow such as actions really help.

Step 5: Determine the channel you want to use for noise reduction. The goal is to choose the channel that is completely black for all the stars, and mostly white and / or grey for the areas which you want to apply noise reduction. The best part about using luminosity masks is that they are self feathering, as is the nature of light. This means you won’t see any harsh brush strokes as sometimes happens when applying masks via the brush tool in Photoshop.

Step 6: Select the channel by first clicking the actual channel you want to use, then clicking the “dotted circle” at the bottom of the “Channels Module”. The shortcut for making this selection is Command ( Mac ) or CTRL (PC ) and clicking on the channel you want to select. Either method works well. When you make a new selection the “ants” will start running around on your screen.

Step 7: With your noise reduction channel selected ( ants moving ), return to the “Layers Module” and click on your noise reduction layer.

Step 8: Upon clicking the noise reduction layer, select the new layer mask button at the bottom of the “Layers Module”. This button is a white square with a dark circle in the middle in Photoshop CC2016. This will create a new layer mask that mimics the channel which you just selected.

Step 9: Zoom in on your photo to ensure that the noise reduction was applied to the areas of your choice.

Step 10: Usually this isn’t required but at times it’s helpful. You can also use a black or white brush within Photoshop to modify your new mask as required if the new mask isn’t exactly doing what you want. When doing so I actually prefer to Group my noise reduction layer, apply a white layer mask to the group. Lastly I brush out the areas in which I don’t want noise reduction to be applied. This is done on the layer mask applied to the group, containing the noise reduction layer. If you don’t understand what I mean by grouping and masking a layer an example can be seen here in the video.

Why Use the Group & Mask Method? If I screw up I can just delete the group’s layer mask and restart. If I paint directly on the mask, overlaying the noise reduction layer, the only way to revert on a screwup is going back in history states. This isn’t always effective or possible.

In Camera Noise Reduction Settings

When talking about Photoshop noise reduction techniques the subject of in camera noise reduction usually comes up.

This is my exact methodology, which settings I use, and why.

I have Long Exposure Noise Reduction ( L.E.N.R ) set to OFF and in High ISO Noise Reduction set to Normal for both landscape and night sky photos. This is on a Nikon D810 so it won’t be the same for each and every camera.

You can use these settings and they will work just fine or better yet do your own comparison and see which wins for your specific camera setup.

Why Did I Select These Settings? I tested each setting and found which worked best for my specific application. I found that Long Exposure Noise Reduction works well on noise, but also significantly reduces the image quality and sharpness. It also takes double the time and double the battery power to capture each image. Due to these facts I don’t use it.

High ISO noise reduction set to normal works great. The high setting was overdone and the low setting didn’t quite cut it. Shooting with the D810 I don’t see much noise until ISO5000. From there on it increases exponentially.

Image Stacking for Noise Reduction

Image stacking is the method of taking multiple exposures of the night sky at lower ISO values and in turn lower Exposure Values ( EV ) than a standard single shot.

The outcome of this is a series of photos that are much darker than could be processed alone.

“Stacking” these photos provides a single image that is as bright as your normal single frame image, but with much less noise.

Why I Don’t Use Image Stacking

I apply Pareto’s Principle and the Power Law to everything I do on a consistent basis.

In this case I’m using the 95/5 rule in lieu of his famous 80/20 rule. The 5% gain in image quality ( from stacking ) is not worth the 95% extra time it will take me to gain these results.

You can run Pareto’s Principle in any direction for positive or negative analysis with any percentage. Reference the 4 Hour Work Week for more info. It’s awesome:)

First, my camera handles noise very well so I don’t really need it.

Second, it’s very time consuming to blend all the stacked images, then blend in the foreground for all these images and keep things looking natural. This process can take 15-20 minutes in the field and hours at home on the computer.

I’d rather spend my time shooting multiple compositions and editing more images!

You could always use a camera sky tracker to avoid having to stack all the images, but then you still run into the issue of having to blend in the foreground.

We here on Earth are always moving with respect to the night sky, hence the foreground blending operation. Even over 30 seconds at 14mm / 35mm you’ll start to see trails in your star photos.

Most of the photos seen in my portfolio are either a single RAW file or two RAW files of the exact same composition, 1 for the night sky and stars and the other ( at longer exposure & lower ISO ) for the foreground.

These images are in turn blended together easily in photoshop, using the same “darks” channels that you created for noise reduction.

  • « Previous Page
  • 1
  • 2
  • 3
  • Next Page »

About Dave Morrow

  • About Dave Morrow
  • Ideas Blog
  • Photography Gear
  • Hiking & Backpacking Gear


Star & Night Sky Photography Guides

  • Milky Way & Star Photography Guide
  • Star Trails Photography Guide
  • Northern Lights Photography Guide
  • Recommended Cameras & Lenses for Night Photography
  • eBook – Photograph the Night Sky

Camera Technique & Shooting Guides

  • Sharp Focus Photography Guide
  • Shutter Speed Photography Guide
  • F-Stop & Depth of Field Photo Guide
  • ISO Photography Guide
  • Exposure Triangle Photography Guide
  • Camera Sensor Size & Image Quality Guide
  • Color Theory Photo Guide


Copyright © 2009–2026 Dave Morrow Photography LLC, All Rights Reserved | Contact | Terms of Service | Privacy Policy