 This page distills all my knowledge from 15 years as a full-time landscape photographer that’s hiked over 20,00o miles.
These aren’t standard guides & videos; they are in-depth, step-by-step systems, battle-tested in the wild.
If you want to master landscape photography, this page has it all.
Take your photo trips to the next level & learn ultralight hiking too!
Table of Contents
Latest Landscape Photography Videos
Click “PLAYLIST” button in right corner of the video below or watch on Youtube.
Camera Technique Videos
Watch these videos in order to learn my camera technique & shooting workflow.
Read the written guides in the following section for even more detail.
Click “PLAYLIST” button in right corner of the video below or watch on Youtube.
Photo-Adventure Videos
Learn the camera techniques & hiking skills I use on my adventures in the wild.
Click “PLAYLIST” button in right corner of the video below or watch on Youtube.
Gear – Photography & Hiking
The guides below include gear lists, videos & knowledge from 15 years as a pro.
- Favorite Landscape Photography Gear – Best Camera, Lenses, Tripod & Tools
- Ultralight Hiking: All My Gear & Skills
Landscape Photography Guides & PDFs
Read the guides in order.
They each build upon each other.
You can download the PDFs on each of the individual pages.
![How to Take Landscape Photos: My 5 Step System [year_brackets]](https://www.davemorrowphotography.com/wp-content/uploads/2026/01/how-to-take-landsape-photos-1920-768x432.jpg)
![How to 10X Your Landscape Photography in 7 Steps [year_brackets]](https://www.davemorrowphotography.com/wp-content/uploads/2026/01/1920-26-768x432.jpg)
![5 Composition Photography Secrets You Never Heard Of [year_brackets]](https://www.davemorrowphotography.com/wp-content/uploads/2026/01/1920-27-768x432.jpg)
![Aperture Priority Mode - Best Camera Technique for Landscape Photography [year_brackets]](https://www.davemorrowphotography.com/wp-content/uploads/2026/01/1920-20-768x432.jpg)
![Back Button Focus - Sharp Focus Photography Guide [year_brackets]](https://www.davemorrowphotography.com/wp-content/uploads/2026/01/1920-18-768x432.jpg)
![Black and White Photography - A 5 Step System for World-Class Photos [year_brackets]](https://www.davemorrowphotography.com/wp-content/uploads/2026/01/1920-19-768x432.jpg)
![Color Theory Photography Guide [year_brackets]](https://www.davemorrowphotography.com/wp-content/uploads/2026/01/1920-21-768x432.jpg)
![Camera Sensor Size & Image Quality Guide [year_brackets]](https://www.davemorrowphotography.com/wp-content/uploads/2026/01/1920-22-768x432.jpg)
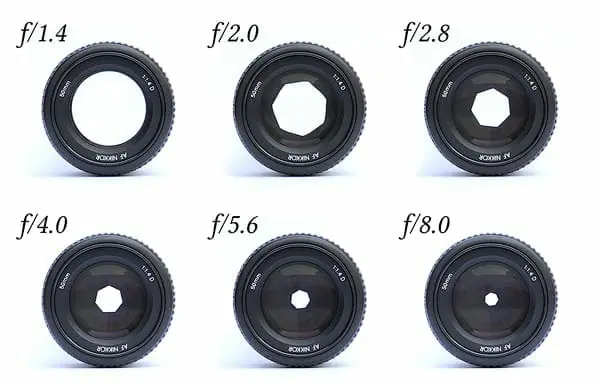
![Ultimate Depth of Field Photography Guide [year_brackets]](https://www.davemorrowphotography.com/wp-content/uploads/2026/01/1920-23-768x432.jpg)
![Ultimate Shutter Speed Photography Guide [year_brackets]](https://www.davemorrowphotography.com/wp-content/uploads/2026/01/1920-24-768x432.jpg)
![ISO Photography Guide [year_brackets]](https://www.davemorrowphotography.com/wp-content/uploads/2026/01/1920-25-768x432.jpg)
![5 Essential Photo Editing Techniques for Landscape Photography [year_brackets]](https://www.davemorrowphotography.com/wp-content/uploads/2026/01/1920-29-768x432.jpg)
Night Sky Photography Guides & PDFs
You can read these in any order.
Download the PDFs on each of the individual pages.
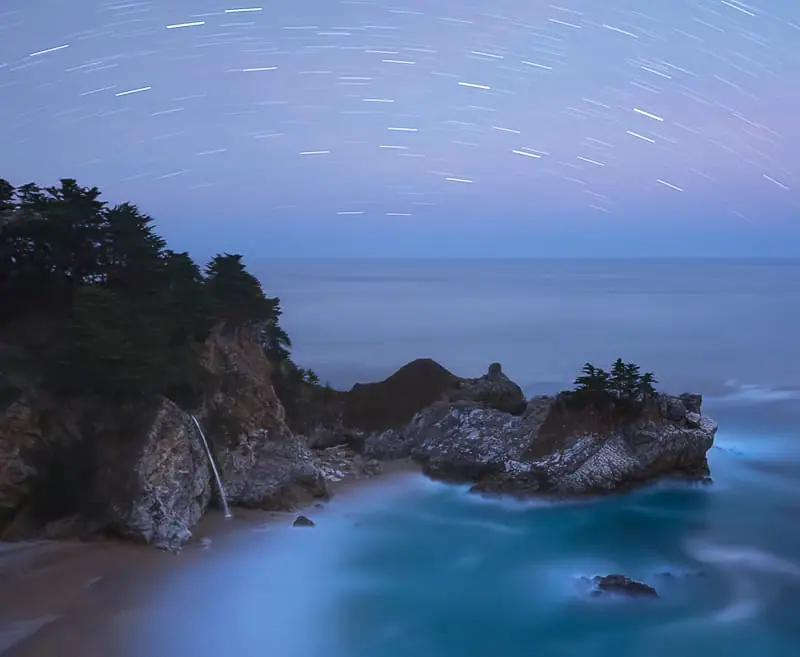
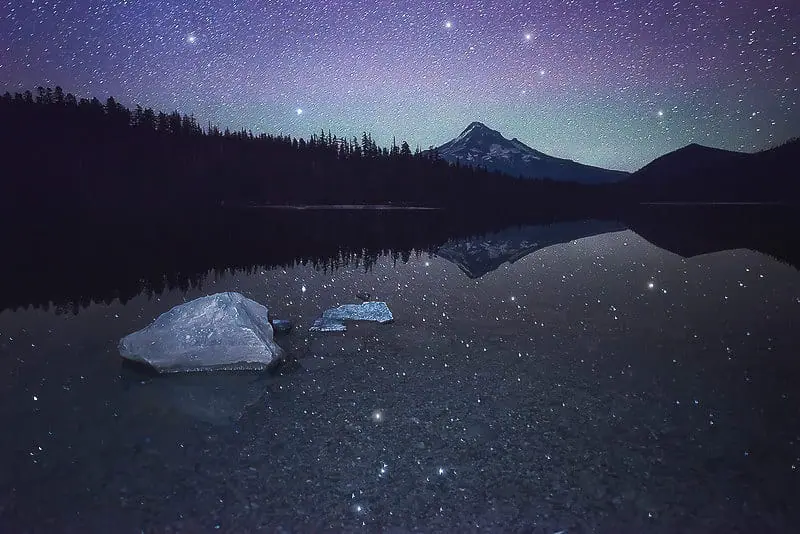
![Star Photography - The Definitive Guide [year_brackets]](https://www.davemorrowphotography.com/wp-content/uploads/2026/01/1920-28-768x432.jpg)
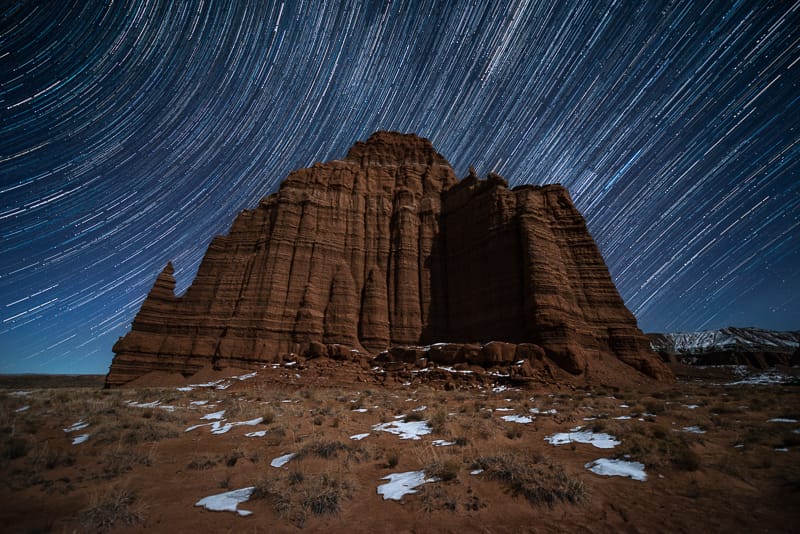
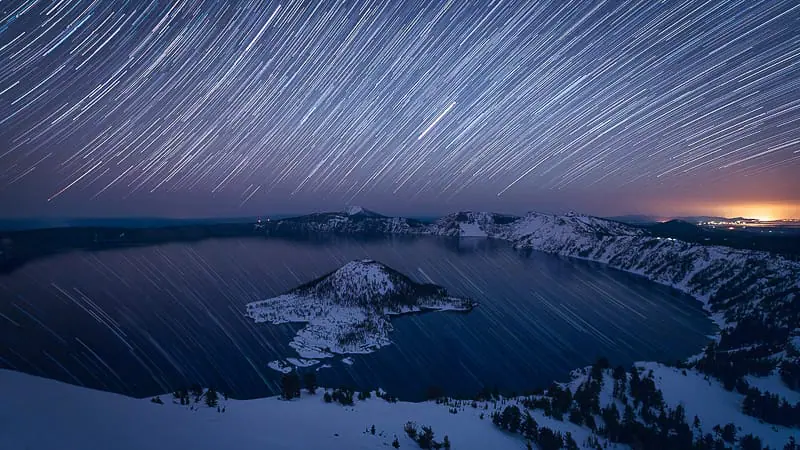
![Star Trails Photography in 7 Steps [year_brackets]](https://www.davemorrowphotography.com/wp-content/uploads/2021/01/star-trails-photography3.jpg)
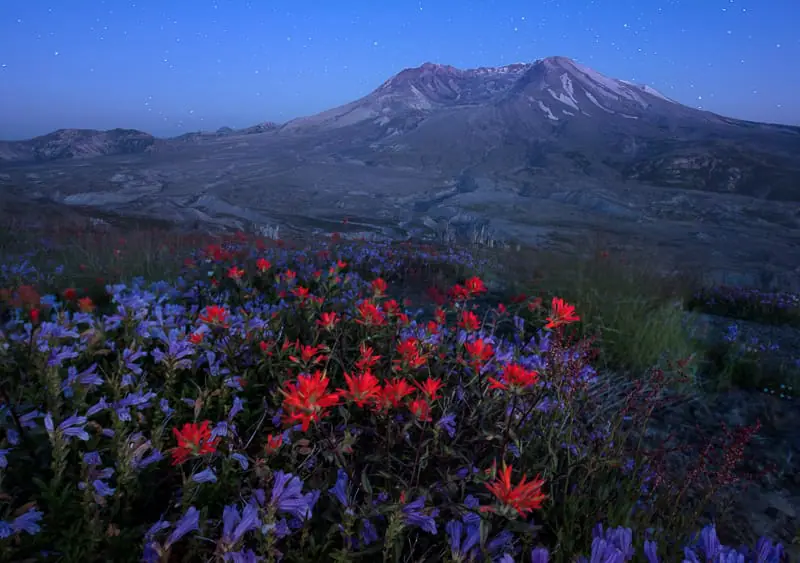
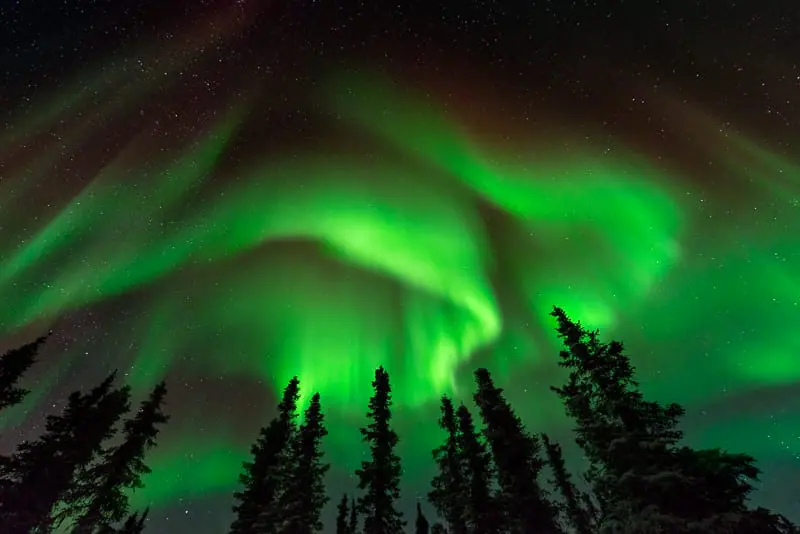
![Northern Lights Photography - The Definitive Guide [year_brackets]](https://www.davemorrowphotography.com/wp-content/uploads/2025/01/1920-1-768x432.jpg)
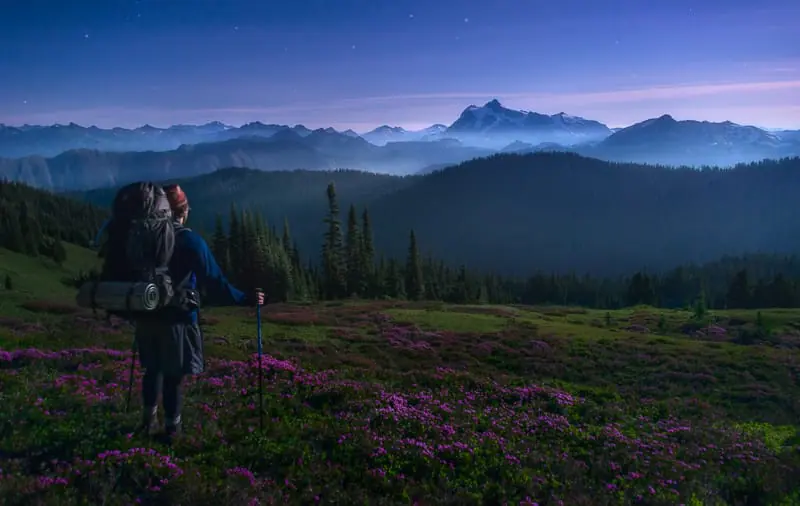
![Best Camera & Best Lens for Night Photography [year_brackets]](https://www.davemorrowphotography.com/wp-content/uploads/2025/01/1920-2-768x432.jpg)

Master the Creative Process (Podcast / Blog)
Below, I’ve include my favorite articles on this topic.
You can also checkout my Podcast.
- The Secret to Success [For Creators]
- For Creators: How to Build a Profitable Business in the Internet Age
- The Secret to a Creative Life
- The Biggest Mistake Creators Make
- Read more on the blog
How to 10X Your Learning Speed
The fastest way to master landscape photography is by learning firsthand from someone who has spent over a decade optimizing these skills through trial and error.
Blogs and videos are great for theory, but they cannot replace real-time, field-based instruction.
I offer high-intensity workshops and tours designed for all skill and fitness levels.
In a single 3-day session, I can teach you my entire system—start to finish.
You will receive 1-on-1 feedback in the field that will improve your skills faster than years of self-teaching ever could.
My students often learn more in three days than they have in the previous 20 years on their own.
Stop guessing and start creating portfolio-grade images.
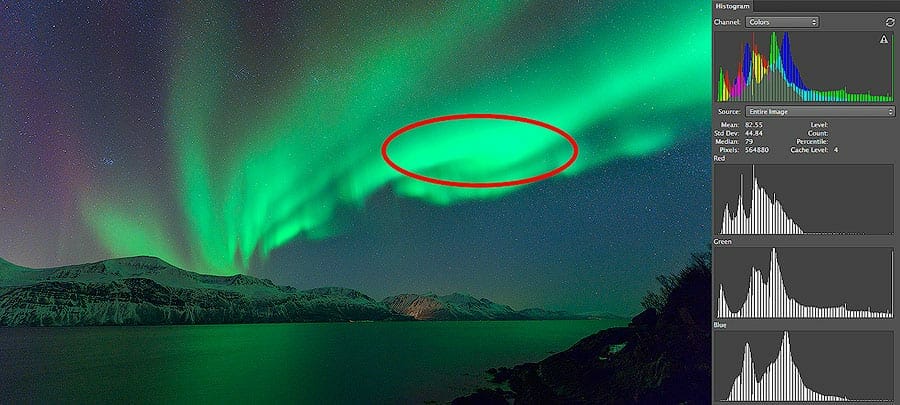
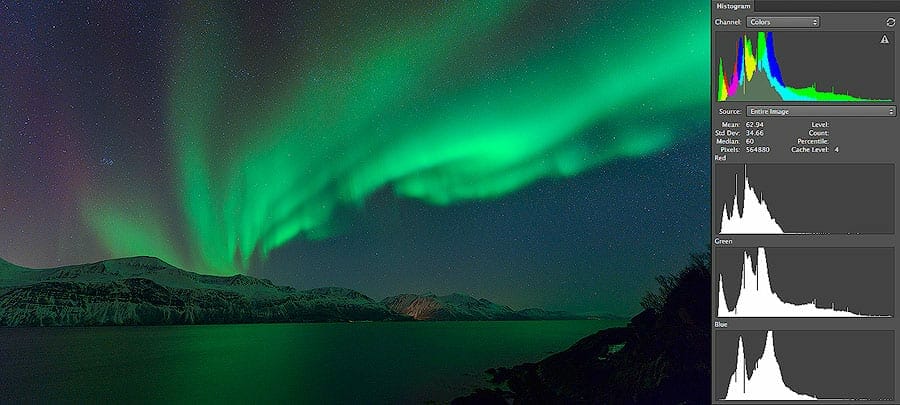
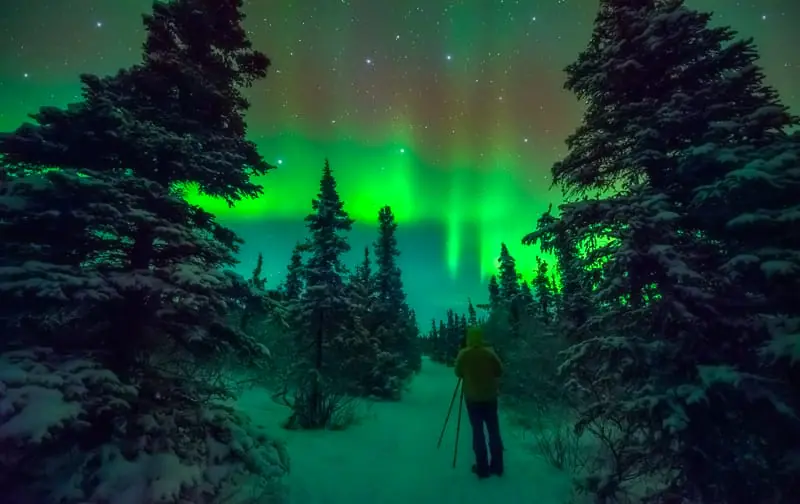 Learn the latest northern lights photography techniques for 2026.

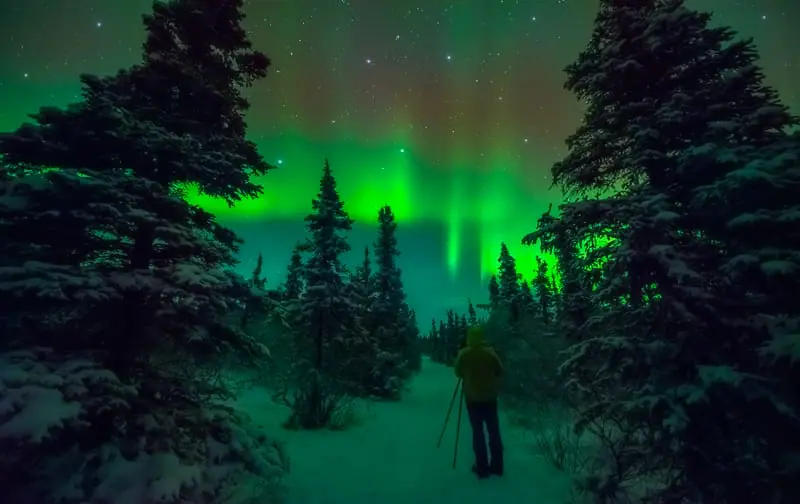
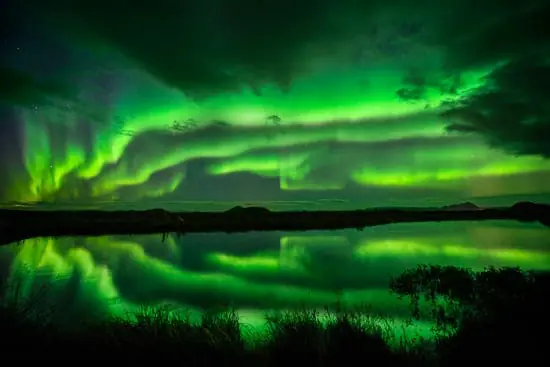
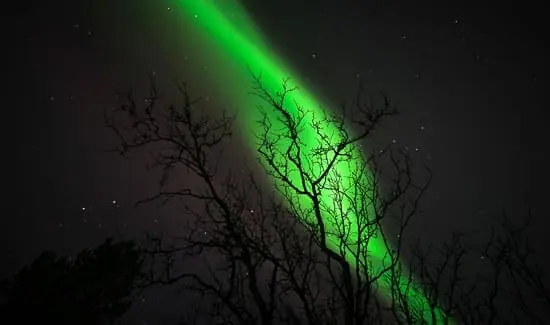 Always keep in mind that your image should not be (in terms of the histogram ) correctly exposed, you are shooting at night, so the image can also be dark.