Learn the best editing techniques and camera settings for noise reduction and night sky photography
This guide & video can be applied to:
- Milky Way
- Star Trails
- Northern Lights
- Moon Photography
Table of Contents
Video – Noise Reduction for Night Sky Photography
Step by Step Photo Editing Workflow
Watch the video first, then follow these steps for quick reference.
Software Referenced in Video
Star Photography Photoshop Actions & Video Tutorials: These are the actions I showed at the end of the video. There is another video included with the link above showing you exactly what they are all about. I created and use these to edit all my star photos, I think you’ll love them too!
Nik Software Suite ( Now Free ) – Click Download on top right of page. Nik Define comes as part of the software suite. That’s the program used for noise reduction in the video.
Imagenomic Noise Reduction – I consider this to have a slight edge on Nik, but not much. You can use my methods in the tutorial with either software.
Step by Step Workflow
Step 1: Always finish your photo editing process prior to using noise reduction software. Photoshop noise reduction, using either Nik Define or Imagenomic, should always be the last step.
Step 2: Use Shift+Alt+Command+E ( Mac ) or Shift+Alt+CTRL+E ( PC ) and merge all to new layer. This will give you a top layer that is identical to the combination of all underlying layers. Label this layer noise reduction.
Step 3: Open the Photoshop noise reduction program of your choice and run it on the new layer from step 2.
Step 4: Open the “Channels Module” in Photoshop and create new luminosity channels. You can also use my Star Photography Photoshop Actions for this step.
PRO TIP: When creating the darks channels it’s best practice to create the dark channel first, then create 4-5 additional channels, which subsequently select darker and darker regions of the photo / histogram. Technically, you could create infinite selections of darker and darker regions of the histogram, but this isn’t necessary.
In doing so you’ll be able to see which selection best fits your specific photo. Since each photo you edit will contain different levels of luminance, the same channel won’t be used to apply noise reduction each time. Having a visual representation of each channel is the only way to select the right channel for your specific image. This is why an automated workflow such as actions really help.
Step 5: Determine the channel you want to use for noise reduction. The goal is to choose the channel that is completely black for all the stars, and mostly white and / or grey for the areas which you want to apply noise reduction. The best part about using luminosity masks is that they are self feathering, as is the nature of light. This means you won’t see any harsh brush strokes as sometimes happens when applying masks via the brush tool in Photoshop.
Step 6: Select the channel by first clicking the actual channel you want to use, then clicking the “dotted circle” at the bottom of the “Channels Module”. The shortcut for making this selection is Command ( Mac ) or CTRL (PC ) and clicking on the channel you want to select. Either method works well. When you make a new selection the “ants” will start running around on your screen.
Step 7: With your noise reduction channel selected ( ants moving ), return to the “Layers Module” and click on your noise reduction layer.
Step 8: Upon clicking the noise reduction layer, select the new layer mask button at the bottom of the “Layers Module”. This button is a white square with a dark circle in the middle in Photoshop CC2016. This will create a new layer mask that mimics the channel which you just selected.
Step 9: Zoom in on your photo to ensure that the noise reduction was applied to the areas of your choice.
Step 10: Usually this isn’t required but at times it’s helpful. You can also use a black or white brush within Photoshop to modify your new mask as required if the new mask isn’t exactly doing what you want. When doing so I actually prefer to Group my noise reduction layer, apply a white layer mask to the group. Lastly I brush out the areas in which I don’t want noise reduction to be applied. This is done on the layer mask applied to the group, containing the noise reduction layer. If you don’t understand what I mean by grouping and masking a layer an example can be seen here in the video.
Why Use the Group & Mask Method? If I screw up I can just delete the group’s layer mask and restart. If I paint directly on the mask, overlaying the noise reduction layer, the only way to revert on a screwup is going back in history states. This isn’t always effective or possible.
In Camera Noise Reduction Settings
When talking about Photoshop noise reduction techniques the subject of in camera noise reduction usually comes up.
This is my exact methodology, which settings I use, and why.
I have Long Exposure Noise Reduction ( L.E.N.R ) set to OFF and in High ISO Noise Reduction set to Normal for both landscape and night sky photos. This is on a Nikon D810 so it won’t be the same for each and every camera.
You can use these settings and they will work just fine or better yet do your own comparison and see which wins for your specific camera setup.
Why Did I Select These Settings? I tested each setting and found which worked best for my specific application. I found that Long Exposure Noise Reduction works well on noise, but also significantly reduces the image quality and sharpness. It also takes double the time and double the battery power to capture each image. Due to these facts I don’t use it.
High ISO noise reduction set to normal works great. The high setting was overdone and the low setting didn’t quite cut it. Shooting with the D810 I don’t see much noise until ISO5000. From there on it increases exponentially.
Image Stacking for Noise Reduction
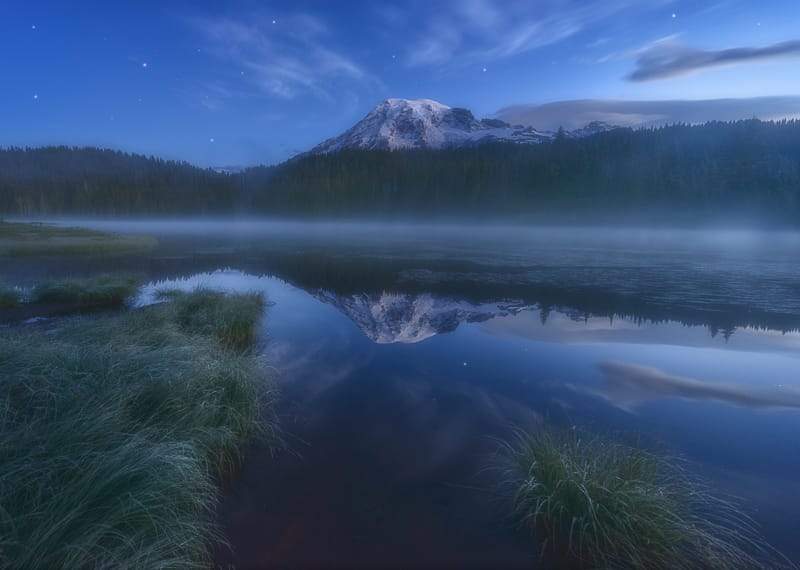
Image stacking is the method of taking multiple exposures of the night sky at lower ISO values and in turn lower Exposure Values ( EV ) than a standard single shot.
The outcome of this is a series of photos that are much darker than could be processed alone.
“Stacking” these photos provides a single image that is as bright as your normal single frame image, but with much less noise.
Why I Don’t Use Image Stacking
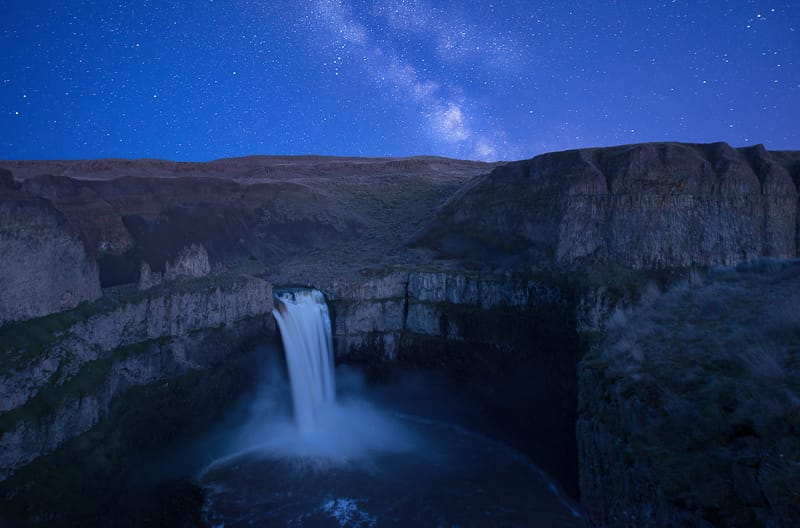
I apply Pareto’s Principle and the Power Law to everything I do on a consistent basis.
In this case I’m using the 95/5 rule in lieu of his famous 80/20 rule. The 5% gain in image quality ( from stacking ) is not worth the 95% extra time it will take me to gain these results.
You can run Pareto’s Principle in any direction for positive or negative analysis with any percentage. Reference the 4 Hour Work Week for more info. It’s awesome:)
First, my camera handles noise very well so I don’t really need it.
Second, it’s very time consuming to blend all the stacked images, then blend in the foreground for all these images and keep things looking natural. This process can take 15-20 minutes in the field and hours at home on the computer.
I’d rather spend my time shooting multiple compositions and editing more images!
You could always use a camera sky tracker to avoid having to stack all the images, but then you still run into the issue of having to blend in the foreground.
We here on Earth are always moving with respect to the night sky, hence the foreground blending operation. Even over 30 seconds at 14mm / 35mm you’ll start to see trails in your star photos.
Most of the photos seen in my portfolio are either a single RAW file or two RAW files of the exact same composition, 1 for the night sky and stars and the other ( at longer exposure & lower ISO ) for the foreground.
These images are in turn blended together easily in photoshop, using the same “darks” channels that you created for noise reduction.