 Hiking 22,000 miles as a full-time wilderness photographer, I built a 7-step packing system to eliminate all trail friction and wasted energy.
Your packing system is broken if you’re:
- Opening the main compartment of your backpack on trail during the day.
- Using zippers, stuff sacks, hydration bladders or rain covers.
- Packing gear in unoptimized locations.
- Hands aren’t moving gear to repeatable locations with subconscious muscle memory.
Don’t worry, it’s easy to fix!
I’ll teach you how to pack a backpack for ultralight hiking.
Table of Contents
Video: How to Pack a Backpack
Step 1: Fix Your Broken Packing System

Peak hiking performance requires an optimized gear control system, that allows you to:
- Pack and unpack identically every single time.
- All gear has dedicated location.
- All locations exist for a logical thought out reason.
- Without thinking, your hands move & the gear goes to the correct repeatable location.
How to Select a Backpack

Every non-essential strap, zipper, clip, pocket, stuff sack, or piece of gear wastes mental & physical energy.
The Unbound 55L, Northrim 70L & Contour 35L Packs are my favorites because they only include the essentials.
Backpack selection criteria is discussed in-depth, here.
Remove Decision Fatigue
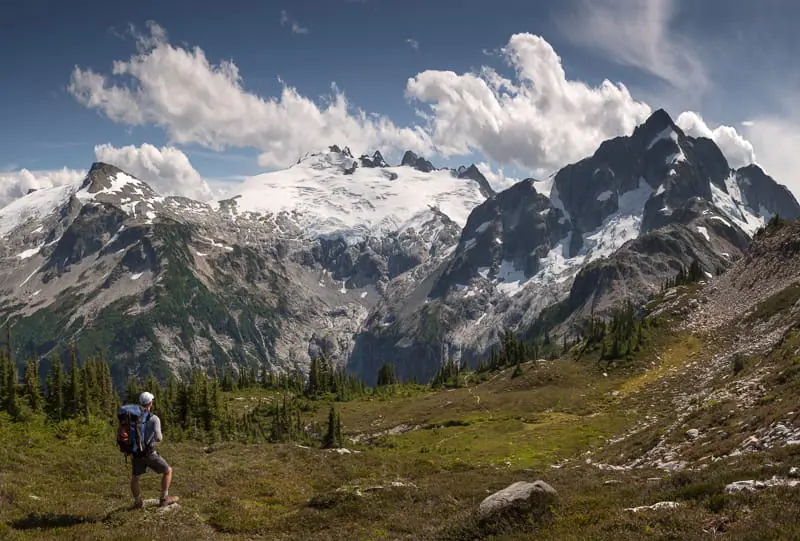
There are 2 main storage areas in every pack:
Outside – Quick Access: Strictly for gear used on-trail during current day of hiking
Inside – Main Storage: All remaining gear not needed until camp
After optimizing your packing system, you’ll never need to access the inside main storage during the day.
The only gear you’ll see until camp was preselected for the current day’s conditions.
Why It’s Essential

Instant Loss Detection: Muscle memory exposes missing items when gear is always placed in same location.
Improve Confidence & Decrease Stress: Automating pack/unpack sequence eliminates mental exhaustion & improves confidence.
Speed & Efficiency: Every time you eat, drink, take a break, change layers, setup or tear down camp, gear is required.
This is hours each day interacting with gear.
If you want to spend the most time hiking & enjoying the outdoors, reducing this time is essential.
Step 2: Waterproof Your Backpack

Most hikers rely on rain covers to keep their gear dry.
Huge mistake.
Rain covers fail because:
- Only cover one side of pack
- Not waterproof / sweat resistant
- Heavy (especially when wet)
- Add extra steps to accessing the pack
The solution is a trash compactor bag used as a pack liner, INSIDE the backpack.
Why It’s Essential

100% Fail-Safe Waterproofing: Downpours, river fords, storms and sweat don’t compromise essential warm layers. Removes all question from your mind.
Stabilization & Down Loft: Trapped air creates a pressurized compartment, preventing lower gear from shifting while maximizing down loft after unpacking. Loft = warmth.
Zero Saturated Weight: Rain covers soak up water and take forever to dry. This adds weight to your pack. Plastic trash compactor bags never change weight or get wet.
Trail Efficiency: Rain covers block outside storage, adding extra steps for access, and decreasing trail efficiency.
Remove Need for Stuff Sacks: Rigid stuff sacks compress down into hard shapes, creating dead space & ruining down loft.
Step 3: Pack Your Food First

Keep your daily hiking food accessible outside your pack, in a waterproof pod (16L).
Step 7 below, covers this in-depth.
Center remaining weekly food along your spine, inside the backpack main storage.
Each night after dinner, move the next day’s food from the weekly food bag to the daily food pod (16L).
Why It’s Essential

Optimal Biomechanical Alignment: Pressing heavy mass against your spine transfers load to skeleton, core, hip and leg muscles optimizing center of gravity.
Maximum Energy Conservation: When your center of gravity is perfectly aligned, you eliminate the constant, micro-forward-leaning adjustments required to counteract a sagging pack. This saves massive amounts of core and leg energy.
Total Stability on Technical Terrain: Spine centered mass eliminates pack sway, keeping you balanced on technical terrain.
Remove Mental Food Clutter: Keeping daily food in a single location allows you to see how much you have left for the day. You never have to worry about mixing up rations or overeating.
Step 4: Fill All Gaps & Don’t Use Stuff Sacks

First, use your sleeping quilt to fill all gaps, keeping food centered on spine.
Next, determine any camp layers, that aren’t needed on trail during the day.
Use these layers to fill any extra gaps around food.
Why It’s Essential

No Dead Space: Loose insulation fills pack corners like concrete into a mold, stopping lower gear from shifting during day.
Protects High-Loft Gear: Forcing down into a tiny stuff sack compresses it and lowers its warmth to weight ratio over time.
Shock Absorption: Loose bottom layers absorb shock, protecting fragile sleep system gear from impacts.
Step 5: Shelter & Pad (Storm-Ready)

Seal the trash compactor bag by folding and tucking it into the back of the pack.
Fold your sleeping pad, without a stuff sack, and layer it into your pack.
Without a stuff sack your pad takes up one inch of height & creates no dead space.
Having your pad between soft down below and soft tent above protects it more than a stuff sack.
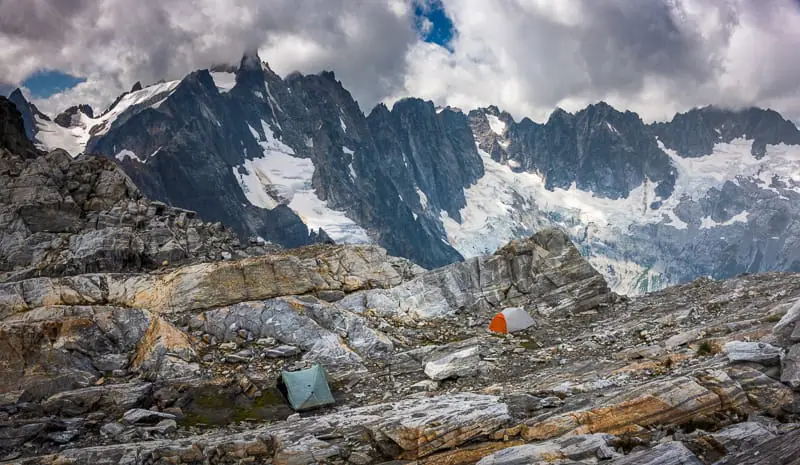
Next, pack your dry tent or tarp without a stuff sack.
This allows you to fill any spaces or gaps just like the down layers.
When a storm hits, you cannot afford to unpack your entire kit, exposing dry gear just to reach your shelter.
This is why the shelter is placed at the top of the pack.
If the shelter is really wet, store it outside the backpack until you can dry it during a sun break.
Why It’s Essential

Optimized Pack Structure: Storing damp shelters at the top isolates moisture, preventing wet transfers to your delicate lower down gear.
Rapid Storm Deployment: Grab your shelter quickly while the waterproof trash compactor bag protects internal gear.
After set up, transfer all of the dry items from the pack, into the shelter.
Clean and dry yourself off. Get into shelter. Put on dry camp layers & finish setup.
Breaking Down Camp in the Rain: Pack your backpack while inside the shelter, and put on your wet trail clothes.
Wait for a rain break if possible. Tear down shelter.
Step 6: Small Essentials Pod

Consolidate all remaining small loose gear into a single small essentials pod (16L).
When it’s time to setup or leave camp, small essentials pod moves from backpack to shelter and back.
Using multiple backpack pockets to store small essentials is a bad idea, because:
- Impossible to remember where everything is, causing brain fatigue
- Takes too long to pack & unpack at camp
- Have to open a different zipper or strap every time you access gear
Small Essentials Gear List

Link List of Small Essentials Gear, including:
-
Electronics & Power
- First Aid Kit
-
Nighttime & Hygiene Gear
- Misc Small Equipment
Before Leaving Camp – Plan for the Day

Shift items from the small essentials pod to external quick access pockets based on daily conditions.
Having gear outside the pack that’s rarely used causes mental and physical clutter.
The Goal: Never open the main compartment of your pack while on trail during the day.
If you have to, everything is at the very top of your pack in the small essentials pod.
Step 7: Active Workspace (Pack the Outside)

Before leaving camp, select the gear & layers that will be stored outside the pack.
This can change daily, depending on the weather, ecosystem, or terrain.
Outside – Quick Access: Everything required to eat, hydrate, rest, manage temperature, navigate, and capture content.
Inside – Main Storage: Locked, waterproofed, and entirely sealed from your mind until camp.
Why It’s Essential

Save Time & Energy: Eliminates packing and unpacking on the trail.
Crush Decision Fatigue: Maximize time spent resting and recovering on breaks.
High-Mileage Efficiency: See more & hike further, in the same amount of time.
Design Your Active Workspace

Stretchy, Zipperless Pockets: Water-resistant stretchy mesh allows instant access without wasting time or energy wrestling with zippers.
On-the-Move Fueling: Keep water, electrolytes, and snacks within reach while walking to avoid constant trail stoppages.
Eliminate Pack Removals: Taking your pack off just to hydrate or eat drains physical energy and destroys your trail momentum. Keep it moving to maximize actual hiking time.
Take breaks every few hours to recover, eat big meals & stretch.
Trail Break Gear (Large Back Pocket)

Gear: Food, cold-soak container, water purification, telephoto lens, small towel, trail layers for day.
The Rule: This pocket is not accessible without taking off the pack. Reserved strictly for gear used during breaks.
Why it works: Zipperless, massive capacity that contains all break gear & extra trail layers.
On the Move – Quick Access (Fanny Pack)

Gear: Fanny pack, Small snacks, phone/maps, electrolytes, sunscreen, Garmin InReach.
The Rule: Replaces traditional backpack hip belt to free up leg mobility and restore your natural, fluid gait.
Why it works: Houses high-frequency items on waist. The zipperless rear sleeve keeps phone or paper maps accessible without extra steps.
Reachable Water Bottle (Left Side Pocket)

Gear: Titanium water bottle, foam sitting pad (used to wedge and stabilize the bottle within arm’s reach).
The Rule: Must be able to grab, drink, refill, and restow bottle single-handedly while walking.
Why it works: Eliminates energy-wasting pack removals and beats heavy, hard-to-refill hydration bladders.
Camera System / Water Haul (Right Side Pocket)

Gear: Camera with wide angle lens and tripod attached, packed upside down. Wind shirt & wind pants.
The Rule: Deploys in under 15 seconds to take photos & videos, while perfectly counterbalancing the water bottle weight on opposite side.
Why it works: Wind layers stay at the bottom of the pocket, creating a protective cushion for the camera and tripod setup which is stored upside down.
The Exception: On rare desert stretches or dry camps, the camera is sealed inside the main pack compartment so both side pockets can handle heavy 2L water bags.
Master Ultralight Hiking: All My Gear & Skills
Access all of my hiking knowledge, gear, guides and videos using the link below:
Master Ultralight Hiking: All My Gear & Skills – 22,000 Miles on Trail