 There are two major hiking life threats that must be avoided at all costs.
- Premade first-aid kits
- Lack of wilderness medical training.
As a trained wilderness first responder & full-time photographer, I depend on my first aid kit to save lives.
Below you’ll learn what should be in a hiking first aid kit for backpacking & photo trips.
Download my free checklist & PDF guide that includes all equipment on this page.
Table of Contents
- Video – What Should Be in a Hiking First Aid Kit
- Life-Saving Advice – Big Mistakes to Avoid
- Checklist Downloads: Hiking, Home & Vehicle First Aid Kit
- Life Threat Equipment – Airway, Breathing, Circulation
- Wound Cleaning and Preparation Equipment
- Wound Repair and Stabilization Equipment
- First Aid Tools & Bags
- Over the Counter Medicine
- Books, Guides & Checklists
- Hiking Gear Checklist – What I Carry on Trips in the Wilderness
- How to 10X Your Learning Speed
Video – What Should Be in a Hiking First Aid Kit
This video covers everything in the checklist below and why these items are essential.
Life-Saving Advice – Big Mistakes to Avoid
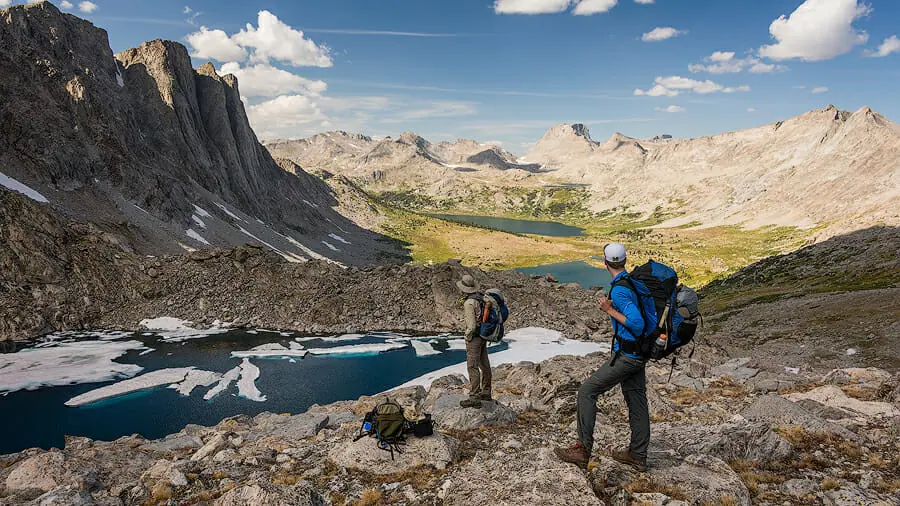
Most Likely You Don’t Have the Most Important First Aid Items
The 5 most important first aid skills and equipment are:
- Tourniquet
- Vented Chest Seals
- Aspirin (325mg) for Heart Attacks
- Epipen – If you are highly allergic to anything
- CPR / Heimlich expertise engrained in your mind & muscle memory
These are major life threats that will kill a patient within a matter of minutes if not treated.
Premade Kits & No Training are the Biggest Threats to a Patients Life
Most people buy a premade kit, throw it in their pack, without ever reviewing what’s inside, and think they are ready for a big first-aid emergency.
This tricks hikers into thinking they are ready when they have no training and fail to pack the correct equipment.
- Everyone should take a 3-day wilderness first aid course at a minimum.
- If you’re backpacking or hiking more than 2-3 hours from an ambulance, I recommend a wilderness first responder course.
You must train each piece of equipment and knowledge until it’s ingrained in your mind & muscle memory.
If you don’t, you will fail under pressure, guaranteed!
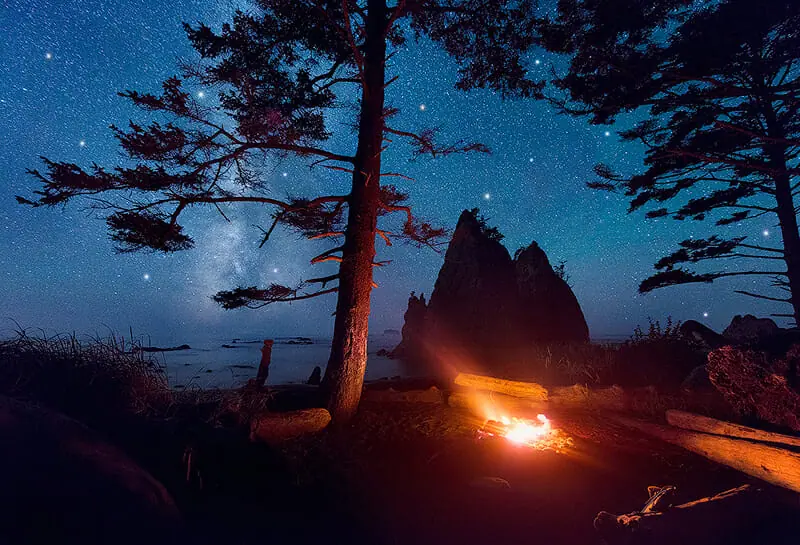
If You’re Out of Shape You Won’t Perform Well Under Stress
Your body sees mental & physical stress as the same thing.
- Under high-stress situations, your body and mind will fail if you’re not in great shape.
- Training teaches your body to manage physical & mental stress.
- When an emergency happens your body will be ready to manage high-stress levels.
- This will ensure a clear mind when making decisions that can save someone’s life.
Training 6 days a week, while spending most of the time in heart rate zones 1 & 2 is essential for operating under high stress.
1 day of your training week should be doing high-intensity sprints until you can’t go anymore.
Training for the Uphill Athlete is a great book on this topic.
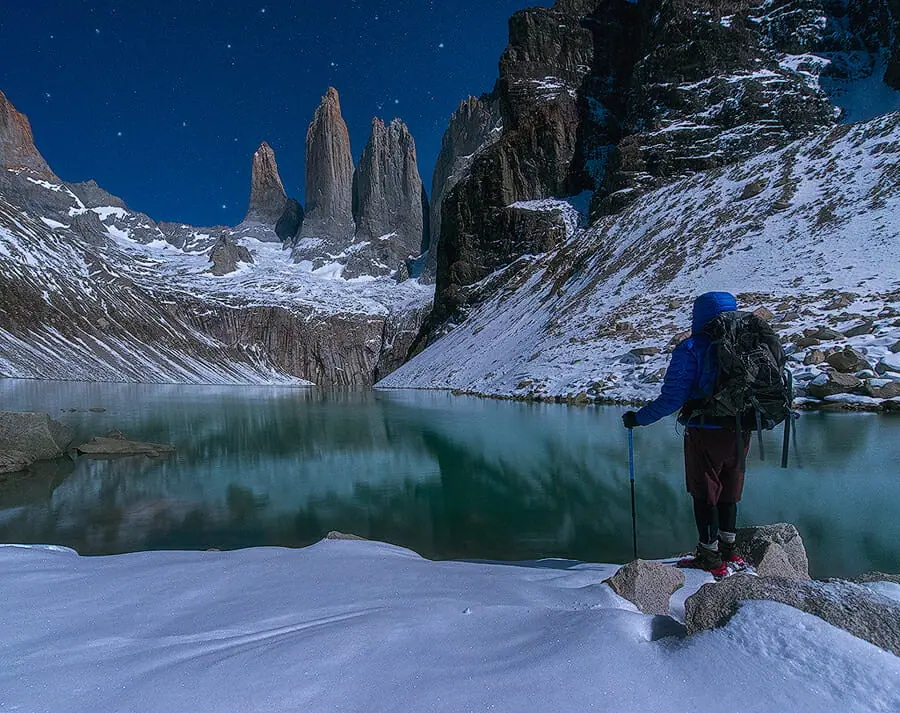
You Won’t Suddenly Learn First Aid in the Field
If you don’t practice patient assessment and care on a regular basis, your first aid kit is worthless.
- Experts depend on checklists & reference material.
- Practice using a patient care checklist that you’ll always carry in your kit.
- Always carry a first responder medical book on your phone. I use kindle for this. It’s not guaranteed to work if your phone isn’t working, but it’s better than nothing.

Minimize heavy single-use items in your kit. Swap them out for light multi-purpose tools.
This will help to reduce pack weight and the number of choices you’ll need to make when doing patient care.
- Blister repair pads (moleskin) can be swapped out for KT Tape, which is also used for sprains and knee damage.
- Large CPR masks can be swapped out for small CPR vents.
- A regular thermometer can be swapped out for single-use thermometer strips.
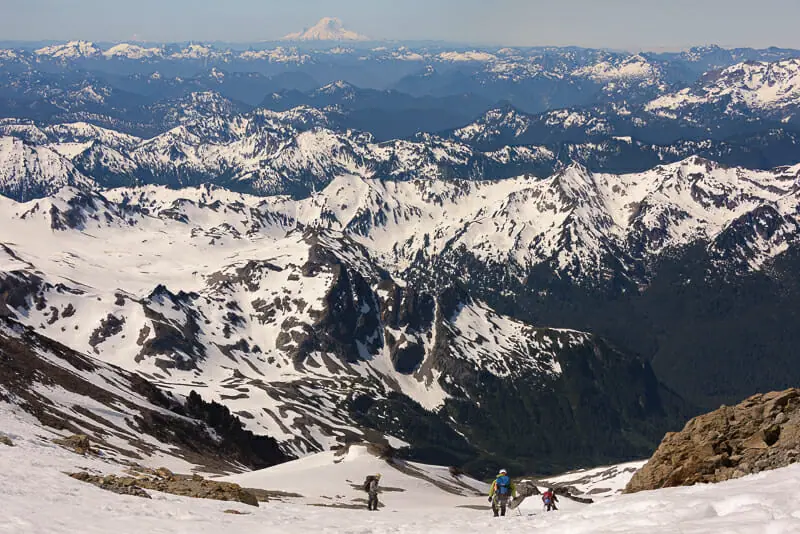
You Must Carry a Rescue Beacon with 2 Way Communication & Weather Reports
On top of training and a fully optimized first aid kit, it’s essential to have communication.
- Some patients will not be able to walk out to the trailhead.
- Others may die within a few hours to a day without professional medical help.
- You need to be able to communicate with a search and rescue team at all times.
One-way communication devices do not cut it!
You may have to change plans or move while waiting for the search and rescue team.
You need direct communication with them.
Knowing the weather is also essential for preparing to wait out a long storm, or knowing if you need to evacuate.
I recommend a Garmin In Reach Mini with the cheapest monthly plan.
Checklist Downloads: Hiking, Home & Vehicle First Aid Kit
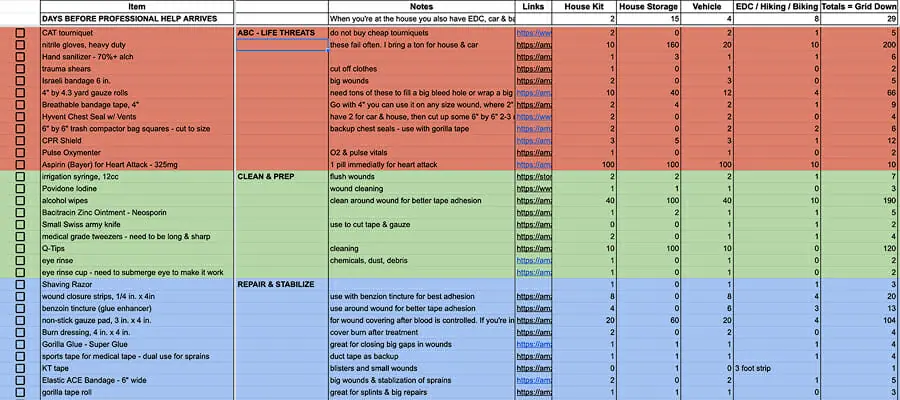
Along with this guide, I created a checklist used to fill each first aid kit.
This checklist includes first aid kits for:
- Hiking
- Vehicle
- Home
Each checklist includes:
- Links to purchase equipment
- Notes on each piece of equipment
- Number of pieces to carry in each kit
Download the checklist along with the complete PDF of this guide using the email box below.
Life Threat Equipment – Airway, Breathing, Circulation
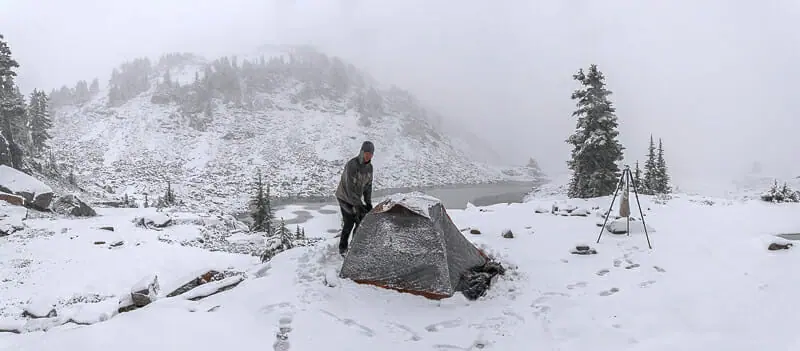
The most important things to determine with any patient are immediate life threats.
These are injuries that may kill a patient within a few minutes if not treated.
Big bleeds, airway blockages, heart attacks, and strokes are at the top of the list.
If the patient is unconscious or unable to converse it can be very hard to detect what these life threats may be.
Always clean your hands and put on gloves before working with any patient.
CAT tourniquet: The most critical life-saving device in any first aid kit.
DO NOT buy a cheap tourniquet from amazon. They will fail when you need them the most.
Hyvent Chest Seal w/ Vents: The second most important life-saving piece of equipment.
4″ by 4.3 yard gauze rolls: Great for packing wounds & stopping big bleeds.
Breathable bandage tape, 4″ wide: Covering big wounds after stabilization.
CPR Shield: Practice is essential for CPR!
Aspirin (Bayer) for Heart Attack – 325mg
Epipen: I don’t carry an EpiPen. If you or someone in your group have severe allergic reactions to anything, carry one.
Wound Cleaning and Preparation Equipment
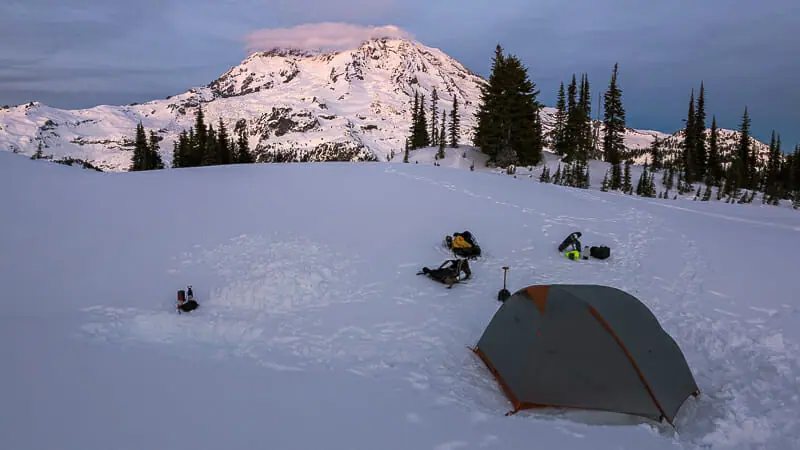
After caring for any major life threats and doing a patient assessment, it may be required to clean a wound.
Here are the tools that I recommend:
High-Pressure Irrigation syringe, 12cc: Wound cleaning and irrigation. This should be repeated many times, using a few liters of clean water.
Povodine Iodine + Travel Bottle: There are different schools of thought on Iodine.
Some say it should not be used to clean inside a wound because it kills cells and causes the wound-healing process to be prolonged.
There are also studies like this one that show minimal adverse downsides.
If I was in a really bad situation, days away from the trailhead, I would use iodine directly in a large wound.
The threat of infection, while in the backcountry seems much higher than the adverse side effects that iodine may cause.
In a wilderness situation survival is the number one goal.
You must make your own decisions on this.
Alcohol wipes: Cleaning around the wound to decrease infection and increase tape adhesion.
Bacitracin Zinc Ointment – Neosporin: Used after the wound is cleaned and stabilized to reduce infection and scaring.
Small Swiss Army knife: Cutting bandages, clothes, and other items.
Medical-grade tweezers: Need to be long & sharp. Long tweezers can be used to remove airway blockages. Sharp tweezers are great for removing dirt & debris from wounds. Clean them before using each time.
Razors: Removing hair around a wound for tape adhesion.
Wound Repair and Stabilization Equipment
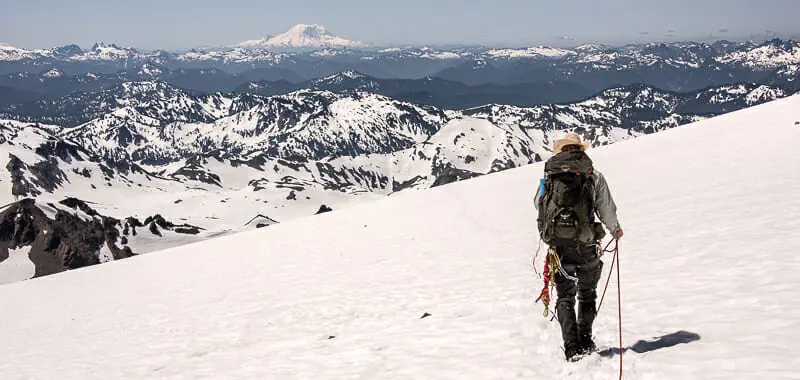
After the wound has been cleaned and assessed, it’s necessary to repair & stabilize it.
Depending on the wound size & severity it may be necessary to clean & apply new dressings 2-3 times per day.
Wound closure strips, 1/4 in. x 4in: Closing medium size cuts & wounds
Benzoin tincture (glue enhancer): Apply before wound closure strips to increase adhesion.
Non-stick gauze pad, 3 in. x 4 in: This large size can be cut down to fit all wounds. Non-stick is essential.
Gorilla Glue – Super Glue: Can be used to close wounds in worst-case scenario where an emergency exit is required. This is your decision of course.
Medical Tape (Sports Tape): For covering wounds using gauze or stabilizing sprains.
KT tape: Blister repair, or knee/ankle stabilization.
Elastic ACE Bandage – 6″ wide: Dual use for covering big wounds packed with gauze rolls or for sprains/splint stabilization.
Gorilla tape: Backroll a few feet for your kit. Multi-use for gear repair, stabilization, and large wounds.
Band-Aids: Almost worthless. Small wounds & cuts.
Dentek Tooth Repair: Repairing chipped teeth or missing fillings. These can hurt as much as a puncture wound.
Safety pin, medium size: Multiple use.
Emergency blanket: Keep patient warm after laying on sleeping pad, inside sleeping bag.
First Aid Tools & Bags
These tools are a mix of essential gear repair items that I need on every backpacking trip, and patient assessment tools for first aid.
Since you’re going to carry your first aid kit on every trip it makes sense to have essential gear repair items in your first aid kit.
NOLS First Aid Kit Bag: Buy this bag/kit and add the other stuff included in my checklist. It fits perfectly.
Rescue Beacon – In Reach Mini: Essential for communication with rescue teams and up-to-date weather.
Single-Use Thermometer Strips: Carry 6-10 of these. They are light and work well for tracking vitals.
Aquatabs – Water Purification: Clean water is required for wound irrigation.
Soap Shavings: Find leaks in your sleeping pads.
Tyvek Tape: Sleeping pad & tent repair.
2mm Dyneema cord – 50 feet: Creating splints with trekking poles or other gear repairs.
Heavy Duty Thread Spool: Gear repair. This can be used on skin in worst-case scenarios. I won’t go into detail on this. The decision and training is on you.
Heavy Duty Needle: Popping blisters and gear repairs. Heat up the needle with a lighter before using it to puncture the blister.
Pen & Paper: Track patient vitals
Gallon zip lock for bloody stuff
N95 mask: Smoke & fire conditions
Over the Counter Medicine
I carry 8 days of meds in my kit at all times. If I’m doing a trip with others or going out for longer than 8 days, I’ll increase the meds in my kit.
Minor Aches & Pains
Painkillers are horrible for your body. I’d highly recommend not using them unless it’s really required.
It’s much better to train on a consistent basis, then you won’t be sore on hiking trips.
- For minor aches & pains I prefer taking 25-50mg of CBD oil before bed, or 10mg intermittently on the trail.
- Taking electrolyte pills while hiking will also greatly reduce aches & pains.
Pain Management, Minor Allergic Reactions, & Sickness
Sometimes individual painkillers will not provide enough relief.
During medical training, you will learn how to layer different pain medications to provide a high level of protection.
You can overdose on over-the-counter pain medications. It’s essential to take training to learn these limits.
Benadryl, 25mg: Minor allergic reactions, sleep aid
Anti-Nausea (Dramamine): Stomach sickness, colds, or any nausea.
Head Cold & Pain Relief – Sudafed Non-Drowsy: Common colds
Acetaminophen, 500mg: Fever and pain relief.
Aleve – Long Acting NSAID: Pain relief.
Ibuprofen – Safest – Short Acting NSAID, 200mg: Pain relief
Electrolyte Pills: Dehydration & common cold
Vitamin C – 500mg: Common cold
Zinc – 50mg: Common cold
Caffeine Pills – 200mg: Emergency energy for first responder.
Books, Guides & Checklists
NOLS Quick Reference Pocket Guide: Keep one of these in every first aid kit.
NOLS Wilderness Medicine Book: Download kindle on your phone & have a hard copy for your home kit.
When the Grid Goes Down: Disaster Preparations and Survival Gear For Making Your Home Self-Reliant
Field Guide to Wilderness Medicine: Most in-depth book on wilderness medicine. Probably overkill for most people. I find it useful though.
Hiking Gear Checklist – What I Carry on Trips in the Wilderness
If you enjoyed this guide, I also have a huge checklist for all of my backpacking gear.
How to 10X Your Learning Speed
The fastest way to master landscape photography is by learning firsthand from someone who has spent over a decade optimizing these skills through trial and error.
Blogs and videos are great for theory, but they cannot replace real-time, field-based instruction.
I offer high-intensity workshops and tours designed for all skill and fitness levels.
In a single 3-day session, I can teach you my entire system—start to finish.
You will receive 1-on-1 feedback in the field that will improve your skills faster than years of self-teaching ever could.
My students often learn more in three days than they have in the previous 20 years on their own.
Stop guessing and start creating portfolio-grade images.