 This is the complete guide for star photography, in 2026.
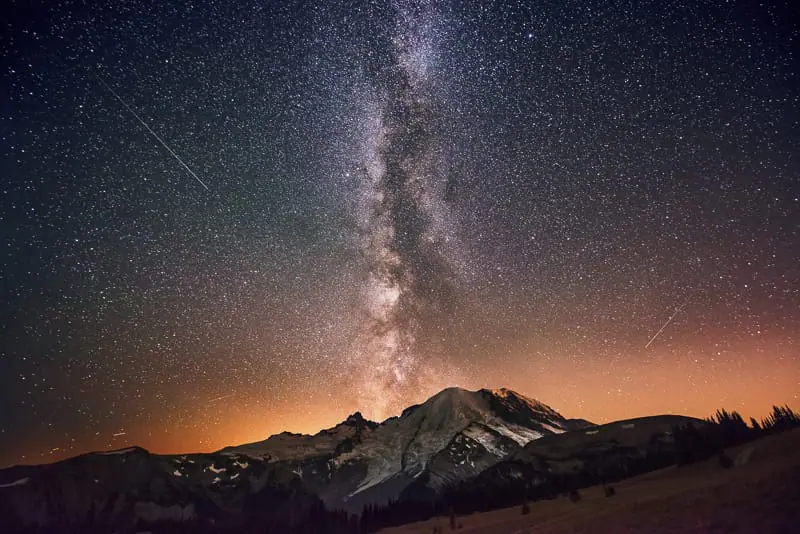
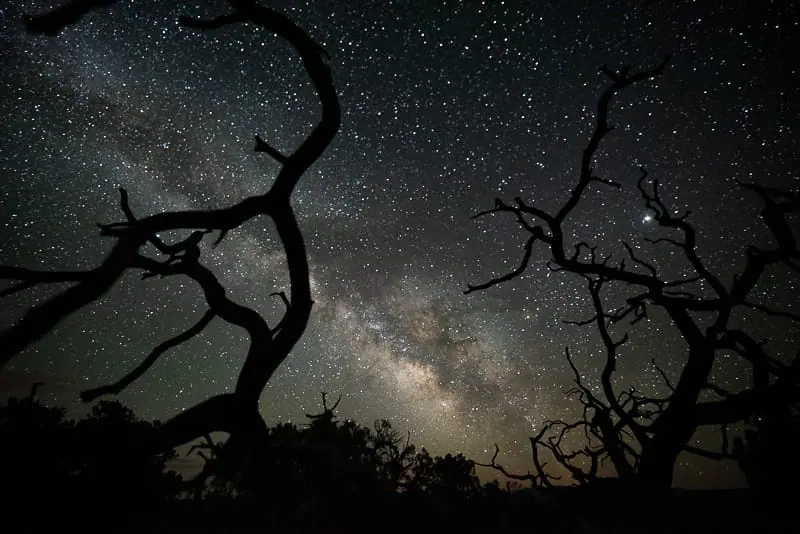
I’ll teach you the best techniques & equipment that I use as a full-time landscape photographer, to capture the stars, Milky Way & night sky.
You will also learn the best camera settings such as sharp focus, shutter speed, f-stop, and ISO.
Table of Contents
Star Photography Camera Equipment
This section includes the equipment requirements for star photography & milky way photography.
If you’re interested in the brands & models I use and recommend, check out the Star Photography Camera & Lens Recommendations page for more details.
Best Camera for Star Photography?
Any camera with manual mode is great for star photography.
I use and recommend full-frame cameras such as the Nikon Z7.
Using manual mode you can independently control shutter speed, f-stop, and ISO by hand.
This is essential for star photography.
A full-frame sensor provides a larger surface area to “capture” the light of the stars and Milky way.
Using a full-frame camera will help to reduce the amount of noise in high ISO images, in turn providing higher-quality images.
Bring at least 3-5 batteries for your shoot!
Best Lens for Star Photography?
A wide-angle lens with f-stop values ranging from f/2.8 to f/4 will work best for star photography.
- Full frame focal lengths between 14mm and 20mm are recommended.
- Crop sensor focal lengths between 10mm and 17mm are recommended.
In short, the smaller the number shown under the “f”, the wider the lens aperture can open.
This wide opening will allow your camera’s sensor to pick up as much light as possible in the shortest amount of time.
Below, you’ll learn why these lens attributes are so important.
Currently, I shoot with the Nikkor 14-24mm f/2.8 for all my night sky images.
Best Tripod for Star Photography?
A sturdy carbon fiber tripod, with an adjustable ball head, is the best option for star photography.
Carbon fiber reduces vibration providing sharper images.
You can get away with cheaper tripods, but they will not yield the sharp images that more expensive tripods do.
It’s essential that the tripod head is well built and does not move during the long exposures required for star photography.
If your tripod shakes or moves, as cheap tripods often do, none of your images will be sharp.
Currently, I shoot with the Feisol Tournament CT-3342 3-Tripod and Really Right Stuff BH-30 Ball head & L-Bracket.
Best Intervalometer for Star Photography?
An intervalometer is not required for star photography but it is required for star trails photography.
An intervalometer connects to your camera allowing you to take exposures longer than 30 seconds.
It also reduces camera shake since you aren’t directly touching the camera to take the image.
Use the Shutter Delay Mode instead to reduce camera shake.
If you have the option, set your camera shutter to have a 5-second delay before it takes the shot.
This way you don’t induce camera shake when pushing the shutter button to take the image.
Videos: Planning Tools & Techniques

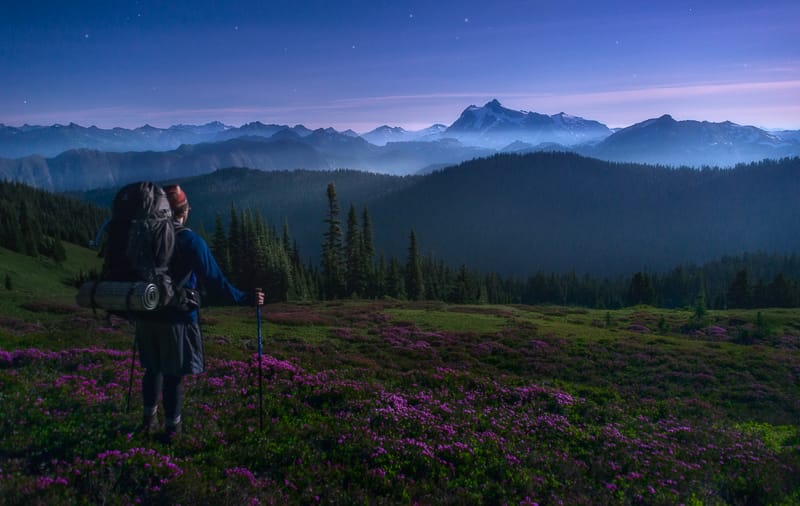
Planning before your shoot is essential for star photography and any other type of night sky photography.
A brief overview of each topic is provided below, but even more detail can be found on the Scouting & Planning for Star, Milky Way & Night Sky Photography Page.
The following videos cover my step-by-step planning technique for star photography.
I’ve also included each of the steps, written in detail, below the videos.
Covers Steps 1-3 Below
Covers Steps 4-5 Below
Covers Step 6 Below
Step 1 – Calculate the Moon Phase
Dark skies are essential for star photography.
Even a small crescent moon provides enough light to reduce the brightness of the stars, as seen by your camera.
This means you want to shoot when there isn’t a moon in the sky.
During the New Moon Phase, the moon can not be seen in the sky.
In most cases, 5 days before and after the New Moon are the best times to shoot.
This will change slightly depending on where you live on earth and the time of year.
Find the current moon phase, here, and determine your trip dates from this information.
Step 2 – Find Dark Skies without Light Pollution
Blue Marble Light Pollution Map is great for finding areas without light pollution.
Black areas on the map are great for shooting the night sky, while white areas on the map are light-polluted and should be avoided.
Step 3 – Find Clear Skies & Predict the Weather
You don’t need perfectly clear skies to get great images of the stars and night sky.
I actually prefer to have some clouds in the sky because they add to the composition and “interestingness” of the scene.
Aiming for nights with 0-50% cloud cover will yield the best results.
There are many different methods I use to plan for this.
The first video above covers my methods, step by step.
Step 4 – Determine Moonrise & Moonset Times
Use the moonrise and moonset times in Photographers Ephemeris (TPE), linked below, to choose the best time to shoot.
Generally, 1-2 hours after sunset or moonset the skies are dark enough for star photography.
This darkness will start to fade 1-2 hours before moonrise or sunrise.
TPE also provides precise sunrise, sunset, and twilight times as well as moonrise and moonset times.
Get TPE for: Desktop | iPhone | Android
Step 5 – Learn to Use Google Earth / Maps
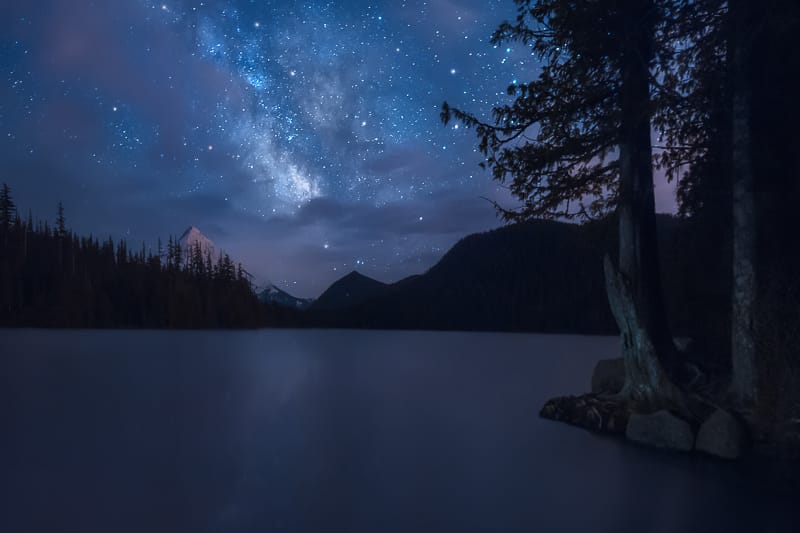
Google Earth is a great way to see where the Milky Way is in the sky.
It’s also one of the best ways to visualize the topographical layout of a location prior to arriving.
Out of all the tools on this page, Google Maps / Google Earth is where I spend the most time.
I teach this in video 2, above.
Get Google Earth For: Desktop | iPhone | Android
Step 6 – Locate the Milky Way with Stellarium
Using Stellarium makes it easy to find the location of the Milky Way in the sky.
If you don’t know when the Milky Way is visible, the following video tutorial will show you exactly when and how to find it in the night sky.
It shows a realistic sky in 3D, just like what you see with the naked eye, binoculars or a telescope.
This is perfect for visualizing and planning precise and effective night sky photo shoots.
Learn this technique in the last video above.
Get Stellarium For: Desktop | iPhone | Android
If you want to learn more about using a telescope to see the planets & stars, this stargazing essentials guide will help.
Focusing Your Lens at Night
Prior to correctly focusing your lens, it will be impossible to effectively perform any type of night photography.
Due to this fact, this section has been placed first.
Since the stars are very far away with respect to where we stand on Earth, focusing at or near infinity (∞) will provide perfectly sharp photos of the stars, Milky Way & night sky.
Most lenses have an “∞” symbol on them which is used to mark the approximate infinity focus point.
Just because you focus your lens to this infinity symbol doesn’t mean it will take a perfectly sharp photo.
This proves true for all types of photography.
Most lenses need to be adjusted slightly more to ensure sharp focus, but “∞” is a great place to start.
Here is an easy way to ensure sharp focus for your night sky shots.
Method 1 – Preset Your Focus Point During the Day
It’s much easier to focus during the day than at night, for you and your camera’s autofocus software.
Step 1: Set up your camera during the day with the lens you will be using to take your night / low light photos.
You can do this at your house, or anywhere else that’s easy, it doesn’t have to be at the location where you plan on taking your night photos.
- You’ll want to open the lens to the widest focal length possible and the minimum f-stop possible.
- For example, this would be 14mm and f/2.8 on a 14-24mm f/2.8 lens.
Step 2: Focus on something approximately 50 feet ( 15 meters) directly in front of your camera.
Taking 15 large steps directly in front of your camera would give you a close enough approximation.
You can focus on anything in this area.
Step 3: Take some practice shots to verify that you have sharp focus at your focus point.
Also, verify that your focus extends all the way out to infinity or the most distant horizon in your scene.
- If it doesn’t move the focal point slightly back in the scene.
- If the distant horizon in your scene is in focus, the stars will also be in focus.
Step 4: Using a piece of white tape, mark your focal point on the lens, or tape the focal ring in place so it doesn’t move.
White tape is easy to see at night.
Remember, this focal point will only work at the specific focal length you’re shooting at.
I always shoot at my widest focal length for all night sky shots and crop down if required.
Advanced Focusing Tips & Techniques
There are 6 more night photography focusing techniques provided in my ebook, Photograph the Night Sky.
You can also reference my Sharp Focus Photography Guide & Videos for landscape & outdoor photography.
Camera Settings & Noise Reduction
The following section provides a quick reference for all of the best star photography settings.
Following this section, you will learn to select each of these settings, step by step.
Camera Shooting Mode
Manual Mode allows you to independently and manually adjust the ISO, Aperture, and Exposure time by hand.
Image Format Settings
RAW Image Format provides the least amount of noise and the best ability to edit the image files when you get back from your shoot.
Metering Mode
The metering mode does not matter for star photography since it is completely dark and the camera can not meter any light from the scene.
Center-weighted average is the best metering mode for star photography only because it’s the best metering mode for landscape photography, so I don’t change it.
White / Color Balance
For all types of night photography, I use and recommend Kelvin Values between 4000K-5500K.
- Select Kelvin White Balance mode to control these values.
- Higher values tint the photo yellow and lower values tint the photo blue.
The goal is for the image to look as close as possible to the color of the sky you see with your eyes.
White balance for star photography is very important for determining if you have the correct exposure of the night sky.
If your white balance is off the histogram will not be accurate and you may underexpose your photo.
Reference my White Balance Shooting Technique Video for more info on using Kelvin mode for landscape & outdoor photography.
Focal Length
Full Frame Camera Focal Lengths: 14-20mm are the best focal lengths for star photography. The smaller / wider, the better.
Crop Sensor Camera Focal Lengths: 10-20mm are ideal. The smaller / wider the better.
You’ll learn about why this matters in the next section.
F-Stop / Aperture Settings
The best f-stop setting for star photography is f/2.8.
I’ll go in-depth on why this is the best setting in the next section.
If you need to learn more about how f-stop & focal length works, reference my guide, right here.
Exposure Time / Shutter Speed
Shutter speeds ranging from 10-40 seconds are the best for star photography.
This is highly dependent on your camera and lens setup, as you will learn in the next section.
If you don’t understand the basics of how shutter speed works, in general, reference this guide, before moving on.
ISO Settings
ISO settings between 1000-4000 are the best for star photography.
On my Nikon Z7, I shoot at ISO3200-4000 for all my night sky shoots.
The following section will teach you precise ISO setting selection.
If you’re not familiar with how ISO works, reference this guide, right here.
Noise Reduction & Long Exposure Camera Settings
Many cameras have a noise reduction setting and a long exposure noise reduction setting.
Turn both of these settings to OFF.
These settings only are applied to JPEG images.
Since you will be shooting in RAW image format, they only waste battery.
F-Stop & Depth of Field Settings
The main goal in star photography is for the camera sensor to collect the most star light from the scene, in the least amount of time, while keeping the ISO very low, as not to increase picture noise.
Opening the aperture, controlled by f-stop, is the best way to do this.
I shoot at f/2.8 for every one of my night sky shots.
I do not recommend shooting at f-stop values wider ( number under f is smaller ) than f/2.8.
Although wider apertures such as f/1.8 do pick up more light, they are also very hard to focus at night.
- Shooting at f/1.8 in the past I have noticed that none of my foreground landscape was sharp, although the stars usually were.
- Shooting at f/2.8 keeps the foreground acceptably sharp, in most circumstances, while ensuring that the stars and night sky are also in focus.
If you don’t have a lens that opens up to f/2.8, you could also try f/4, although the results will not be anywhere near as good.
You will learn why in the following section.
Any f-stop values larger than f/4, will not work for milky way & star photography, since they do not collect enough light from the scene.
This requires you to increase the ISO, thus inducing too much noise into the image.
Shutter Speed Settings
We are only calculating shutter speed in this section. ISO is covered in the next section.
Step 1: Set your f-stop to f/2.8 or your widest setting above f/2.8.
This will be where you keep it for all your star shots.
Step 2: Set your ISO at 4000. This is not the actual ISO you will use for your images.
For this step, keeping ISO high keeps the exposure bright enough so you can see the stars while dialing in shutter speed.
Now, let’s determine the shutter speed.
The 500 Rule for Star Photography
Reference The 500 Rule Chart while reading the following section.
Another one of the main goals for star & Milky Way Photography is sharp stars, without star trails behind them.
If there are star trails, your stars will not be point-like and sharp.
The longer the shutter speed, the longer the trails behind the stars will be, as they traverse your composition.
This is the exact same effect you see with smooth water for long exposures.
The “500 Rule” is used to calculate the maximum time a photo can be exposed (shutter speed) without exhibiting star trails behind each star in the photo.
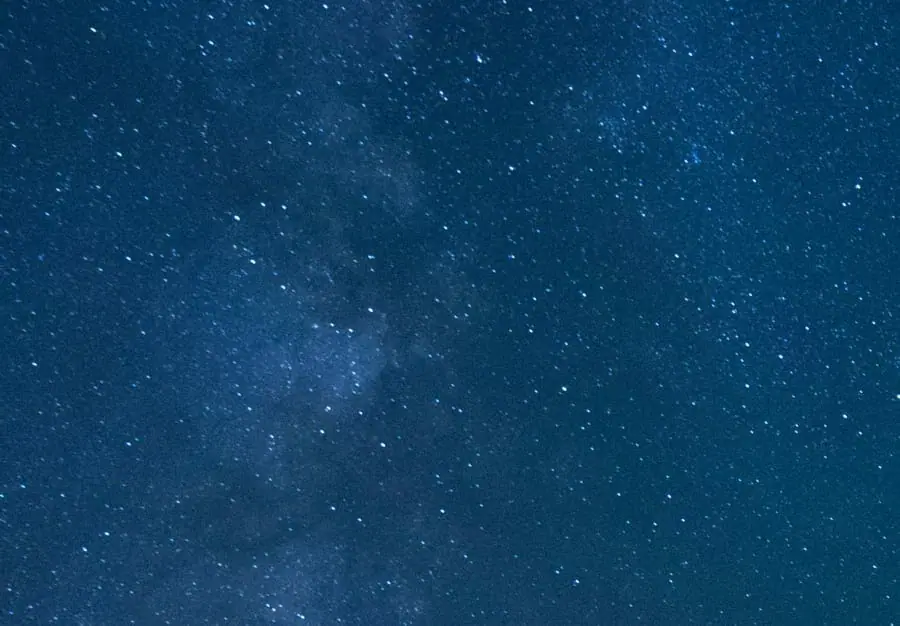
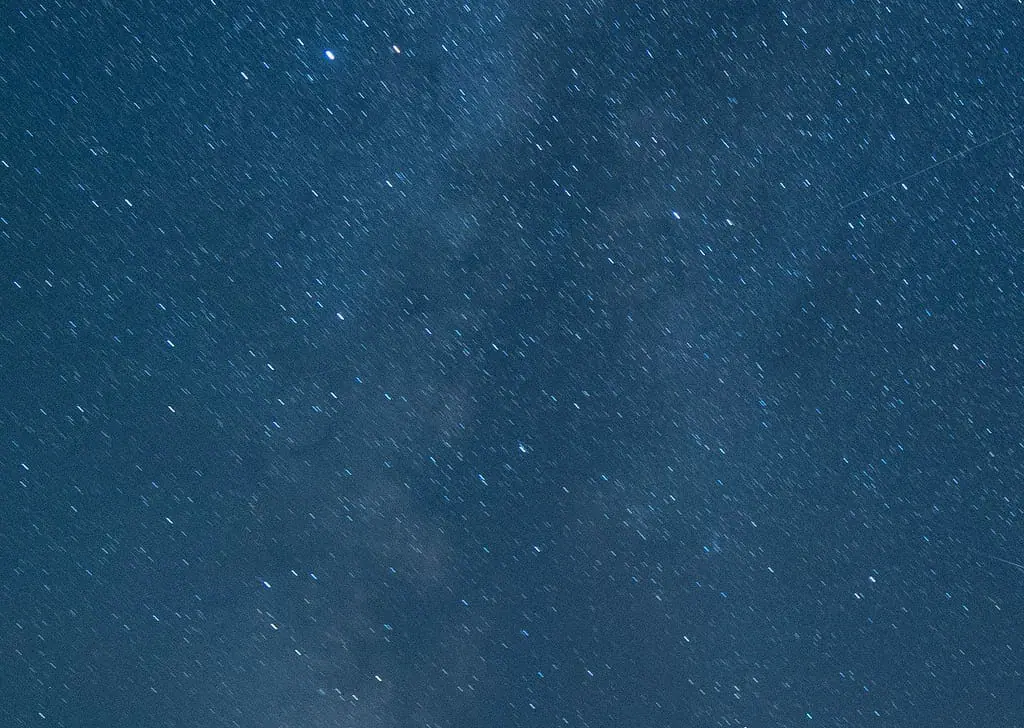
I have provided two close-cropped examples below.
The first example shows sharp stars, with minimal trails. This is the goal.
The second example shows long trails. This is what we want to avoid.
Example 1: 20 Second Shutter Speed / 14mm Focal Length
Example 2: 50 Second Shutter Speed / 14mm Focal Length
Step 1 – Calculate the Camera Crop Factor
The chart above provides common crop factors and their correlating shutter speeds.
Full Frame Camera Crop Factor = 1
Crop Sensor Crop Factor is calculated with the equation below.
Crop Factor = 35mm / Your Camera’s Sensor Size ( mm )
Just divide 35 by your camera’s sensor size in millimeters
If you don’t know your camera sensor size, Google, “Your Camera Model + Sensor Size”
Step 2: Calculate the Shutter Speed / Exposure Time
To obtain the maximum shutter speed you can shoot at, without exhibiting star trails, take the number 500 and divide it by the focal length you will be shooting at.
You can reference the 500 Rule Chart provided above, and the 500 Rule Equation provided below to perform your calculation.
500 Rule Maximum Shutter Speed= 500/ ( Focal Length X Crop Factor )
Technical Note: First, Multiply the focal length by the crop factor, then divide 500 by the result.
If you exceed the calculated maximum shutter speed provided by the 500 Rule, your picture will exhibit star trails.
Always remember, this is just a rule of thumb.
After experimenting with different shutter speeds and ISO Settings, per the section below, you will no longer need to reference the 500 Rule every time you shoot.
Step 3 – Test & Find the Best Shutter Speed
Per the 500 Rule, I should be able to shoot a 35-second exposure maximum ( without seeing star trails ) at 14mm focal length using a full-frame camera.
Although this is what the 500 Rule recommends, I tend to prefer shooting in the range of 20-25 seconds for much sharper images.
Decrease your shutter speed from the 500 Rule Maximum shutter speed until your stars are sharp and point like in the sky.
Each wide-angle lens handles distortion differently so it’s best to check for star trails near the center of your image where distortion is minimal.
The more expensive your wide-angle lens, the less distortion and sharp the image it produces.
Final Thoughts on the 500 Rule
The 500 Rule calculated shutter speed only depends on the lens focal length.
The wider the focal length, the longer it takes for trails to show up behind the stars.
ISO and Aperture do not affect the 500 Rule calculated shutter speed or vice versa.
The 500 Rule is a rule of thumb, not an exact science.
ISO Settings & Noise
Your camera should be set at the f/2.8 or your widest f-stop value and the shutter speed that you determined in the steps above.
ISO is the only destructive / noise inducing setting for star photography.
There is no reason to degrade picture quality by increasing ISO ( to obtain a brighter image ) when you can keep the same picture quality and increase the brightness using a longer exposure or a wider aperture, given your photo is not exhibiting star trails.
This is why we selected shutter and f-stop prior to selecting an ISO setting.
Never increase your ISO to obtain a brighter photo prior to increasing your exposure time to the maximium exposure time found in the section above.
Step 1: Adjust your camera to ISO800 and take a practice shot.
This practice shot will most likely be dark. If it is, move on to step 2.
Step 2: Increase your ISO one-stop, or to the next larger value, such as ISO1200.
Take another practice shot.
Most likely this shot will still be very dark. If it is, move to step 3.
Step 3: Continue to increase your ISO until you start to see the stars & milky way, very visibly in your photos.
- There is no need to over-expose your star photos.
- They can be fairly dark just like the night sky that surrounds you.
- The best method is to match the brightness of your photos to the landscape and stars you’re looking at.
The camera picks up much more data than is actually displayed on the preview screen.
This data can be brought out in post-processing.
Step 4: Once the stars or Milky Way is clearly visible in your photos, you have found an ISO setting that works well for the given composition and situation.
Depending on the camera make and model you may notice a lot of noise in your photo.
You may also notice that you have increased your ISO to the maximum setting and the photo is still not bright enough.
This is often the case for cheaper crop sensor cameras.
Other than adjustments in post-processing, there is nothing else that can be done about maxing out your ISO prior to having a bright enough photo.
This is where it truly helps to have a full-frame camera & wide-angle lens.
Final Tips for Star Photography
Most of my night sky images were taken at f/2.8, 20-25 second shutter speed, and ISO3200-4000.
After dialing in your settings, during the first few shots, they will stay close to the same for each shoot.
The only thing that would change them would be the light changing in the scene, such as the sun or moon coming up.
Once you get the settings dialed in, it’s all about composition, which is the most important skill in landscape & night sky photography.
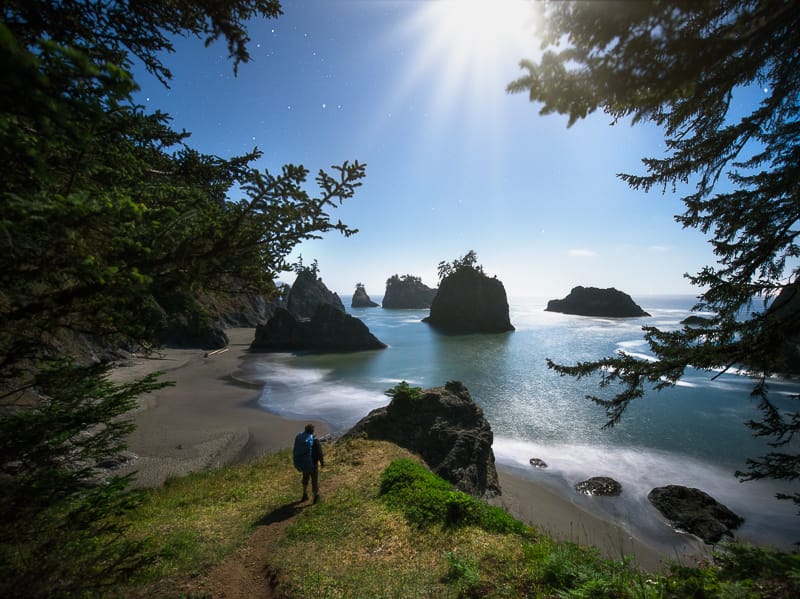
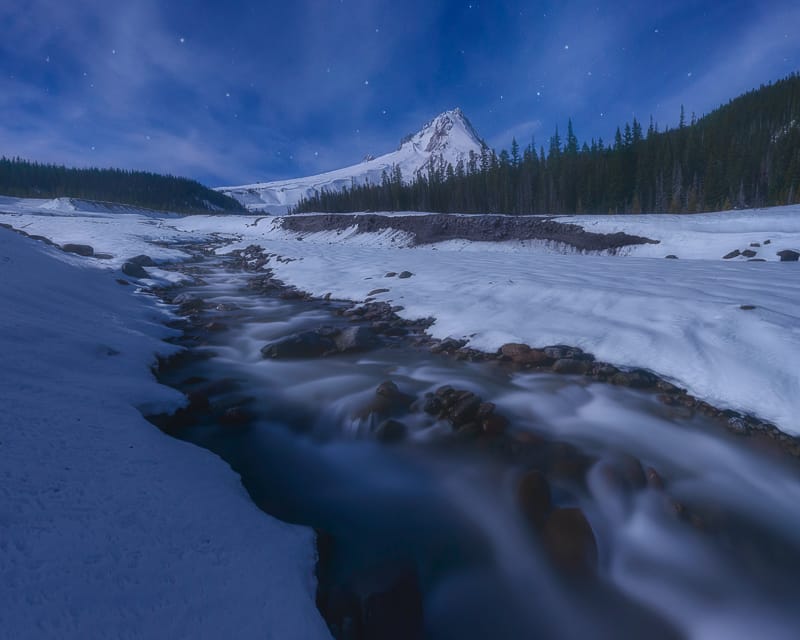
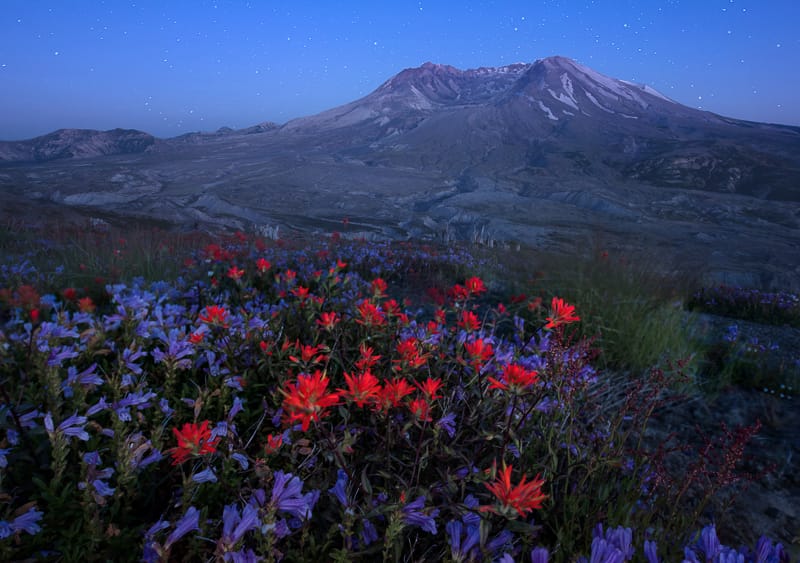
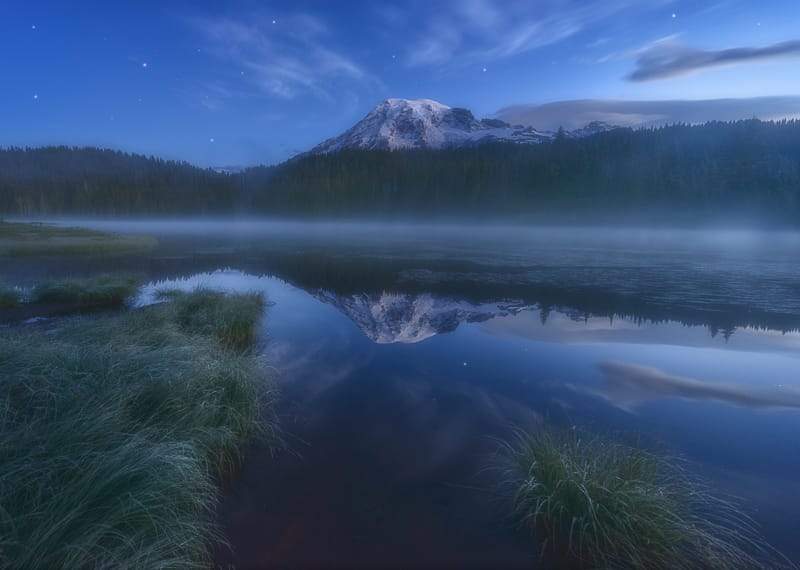
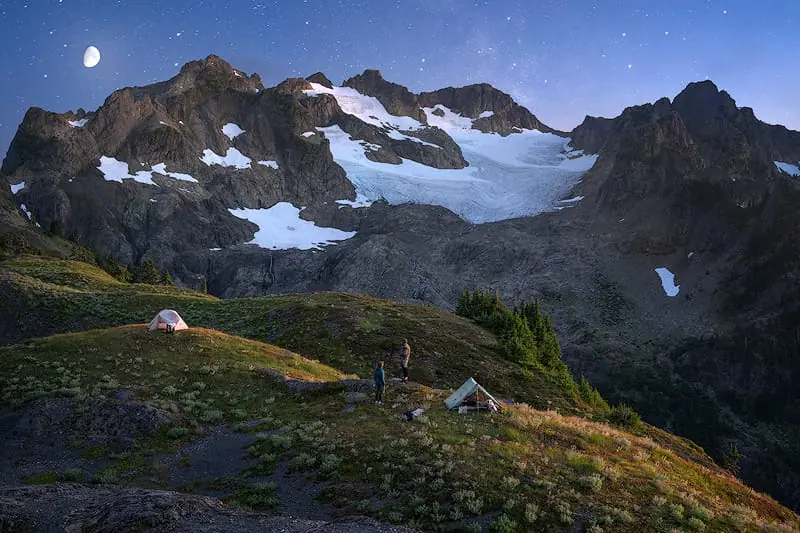
It can also be really fun to shoot the milky way & stars under a very small crescent moon that provides a small amount of light to the landscape.
The stars will not appear quite as bright, but the moon creates a dreamy effect that can look really nice.
If you need some ideas or inspiration, you can visit my night sky photography portfolio, here.
Thanks for reading this guide.
My Night Photography eBook
You may also enjoy my Star Trails & Northern Lights Photography Guides, or the full-length ebook linked below.
How to 10X Your Learning Speed
The fastest way to master landscape photography is by learning firsthand from someone who has spent over a decade optimizing these skills through trial and error.
Blogs and videos are great for theory, but they cannot replace real-time, field-based instruction.
I offer high-intensity workshops and tours designed for all skill and fitness levels.
In a single 3-day session, I can teach you my entire system—start to finish.
You will receive 1-on-1 feedback in the field that will improve your skills faster than years of self-teaching ever could.
My students often learn more in three days than they have in the previous 20 years on their own.
Stop guessing and start creating portfolio-grade images.